Built To Last: Original Sill Logs and Floor Joists
Old Construction Techniques
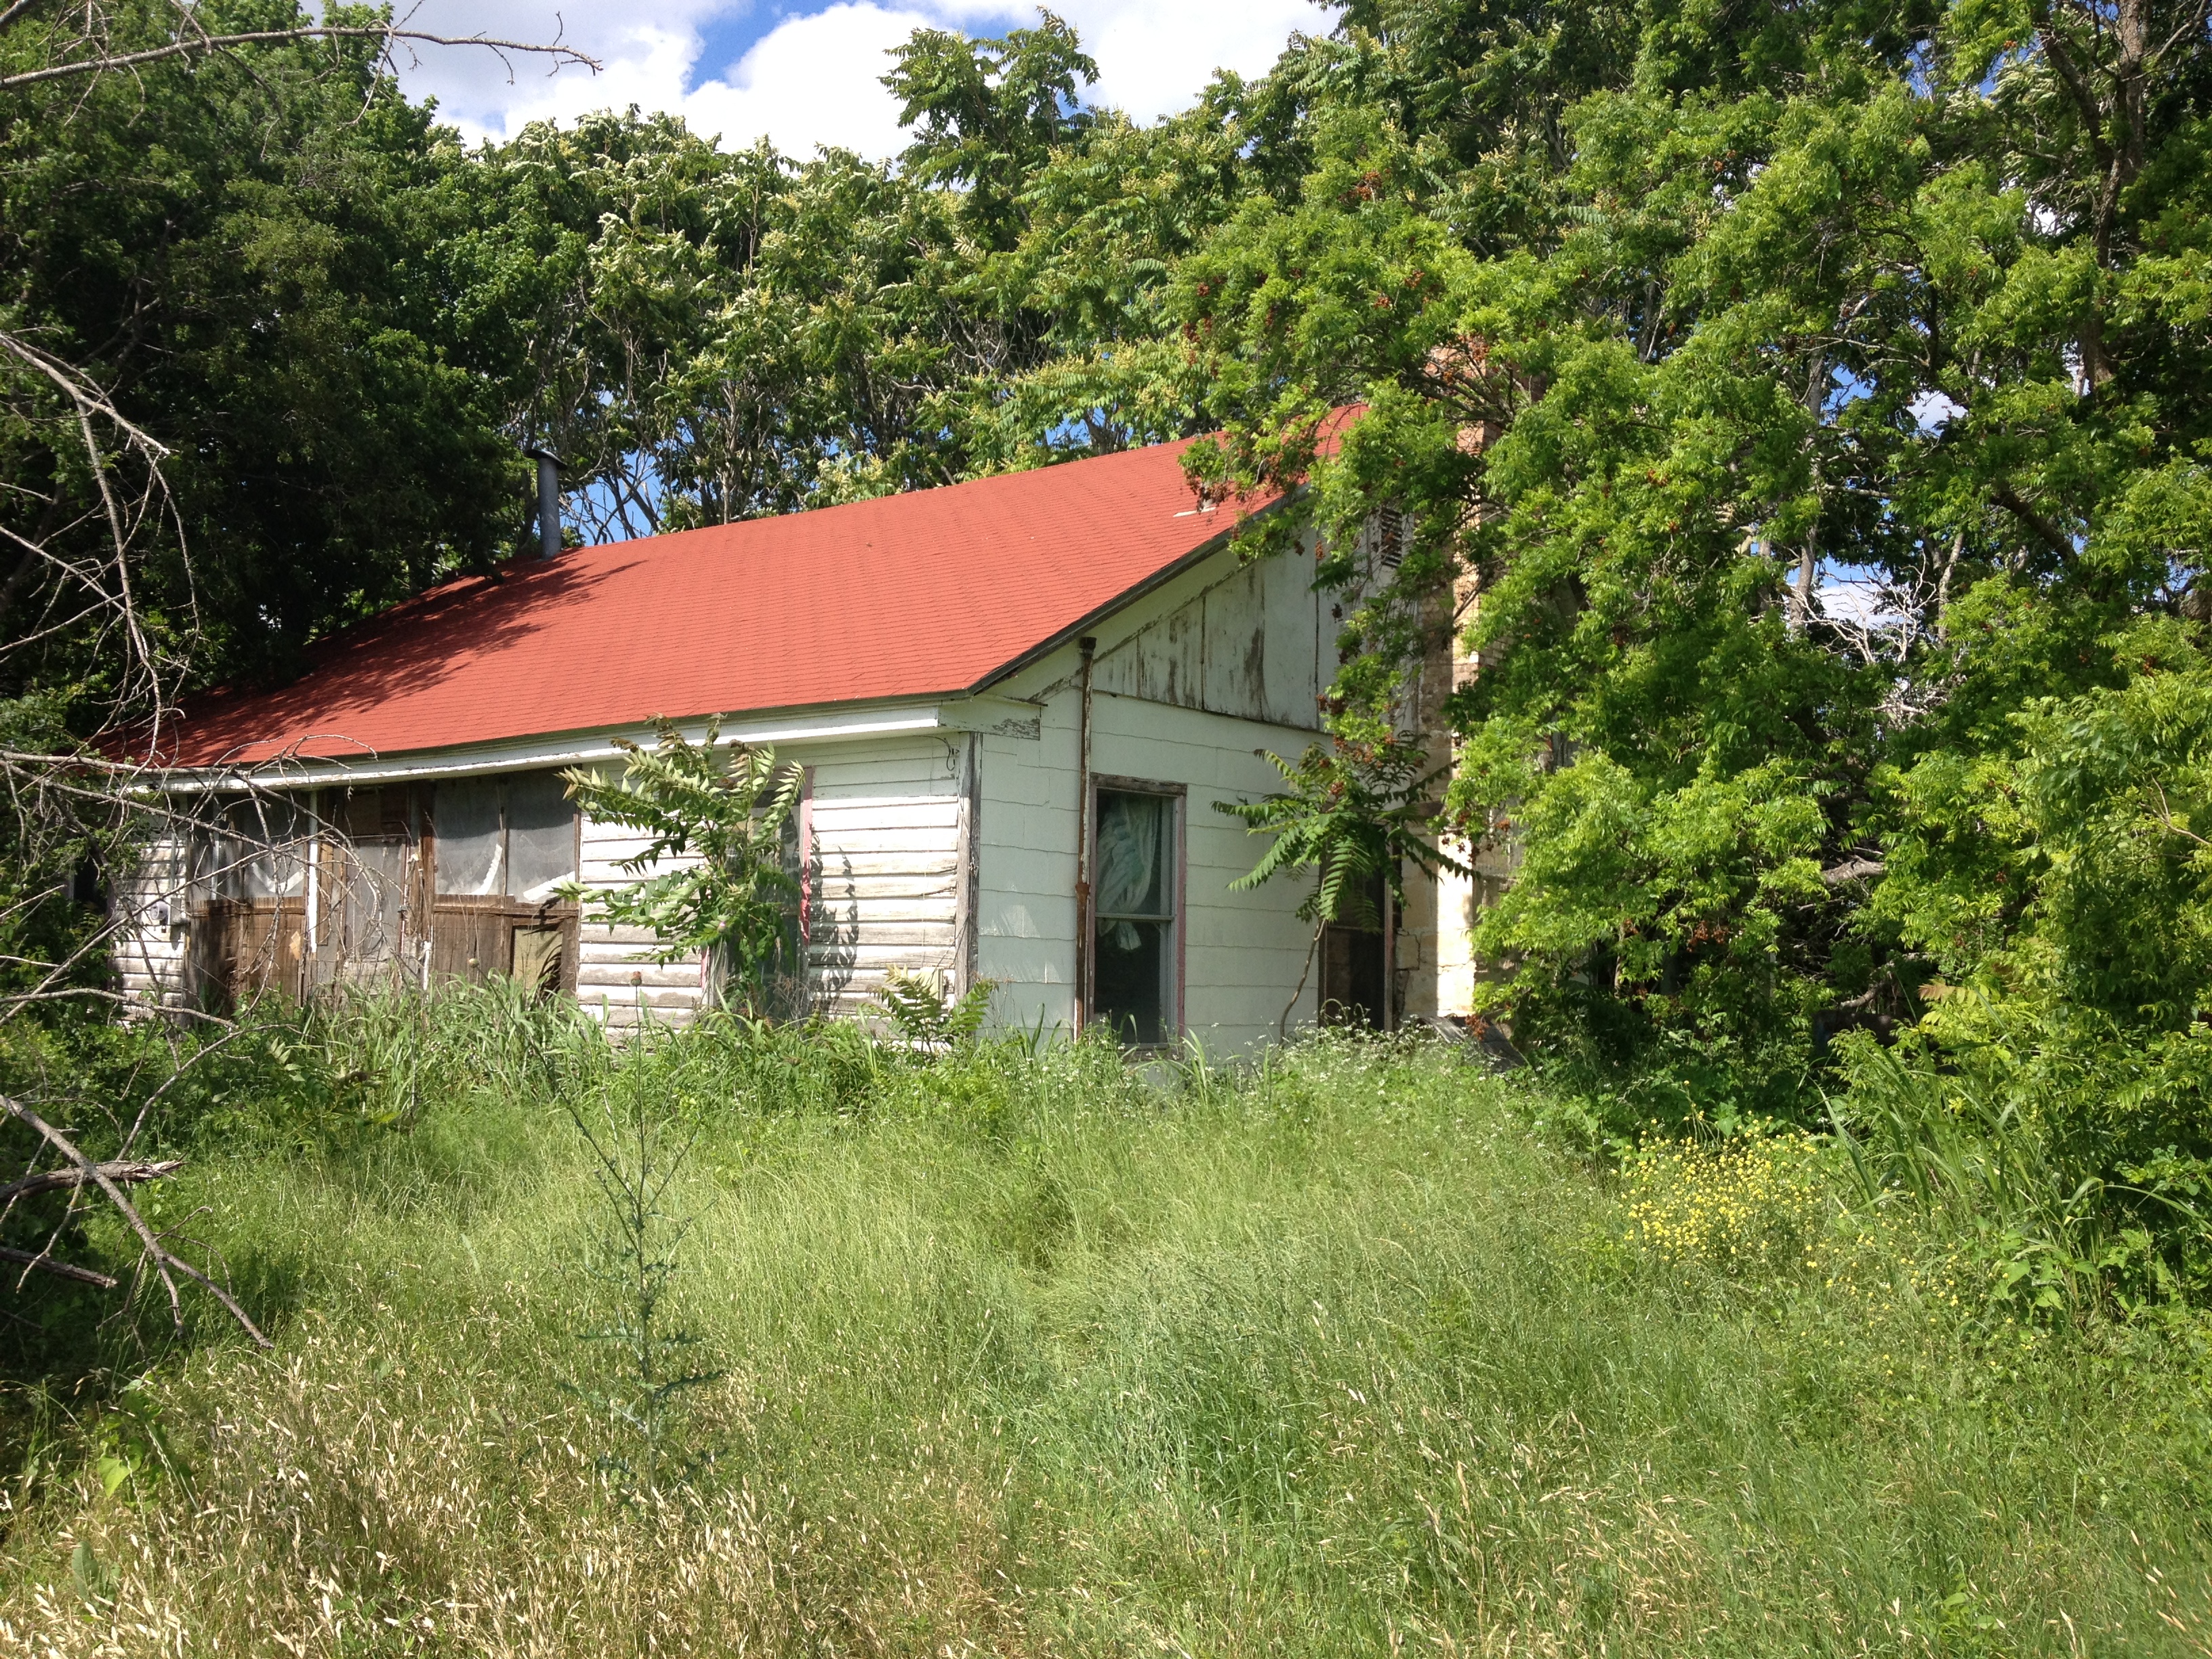
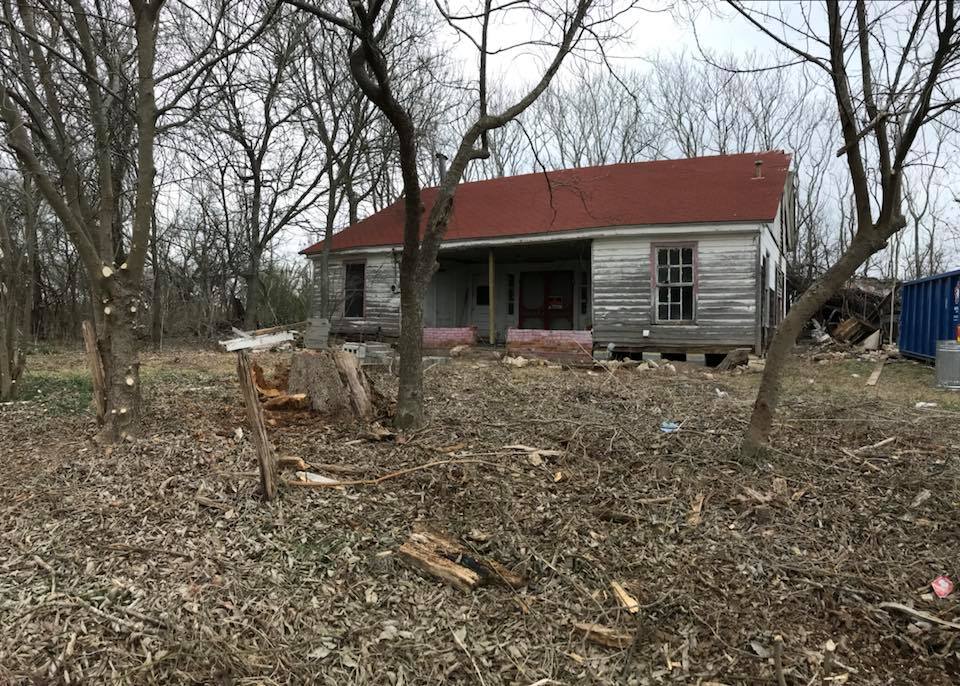
The house was build in 1846 and certainly has outlasted any expectations for modern construction. The house was soundly built, but time had illustrated that there were some significant issues with the structure. For example, the front of the house was moving away from the main part of the structure. You can read about that little fiasco on my blog post entitled Structural Issues in Our Dog Trot House. In this post, I’ll tell you a bit about the floor joists and sill logs and how we kept the house as original as possible.
The Floor Joists
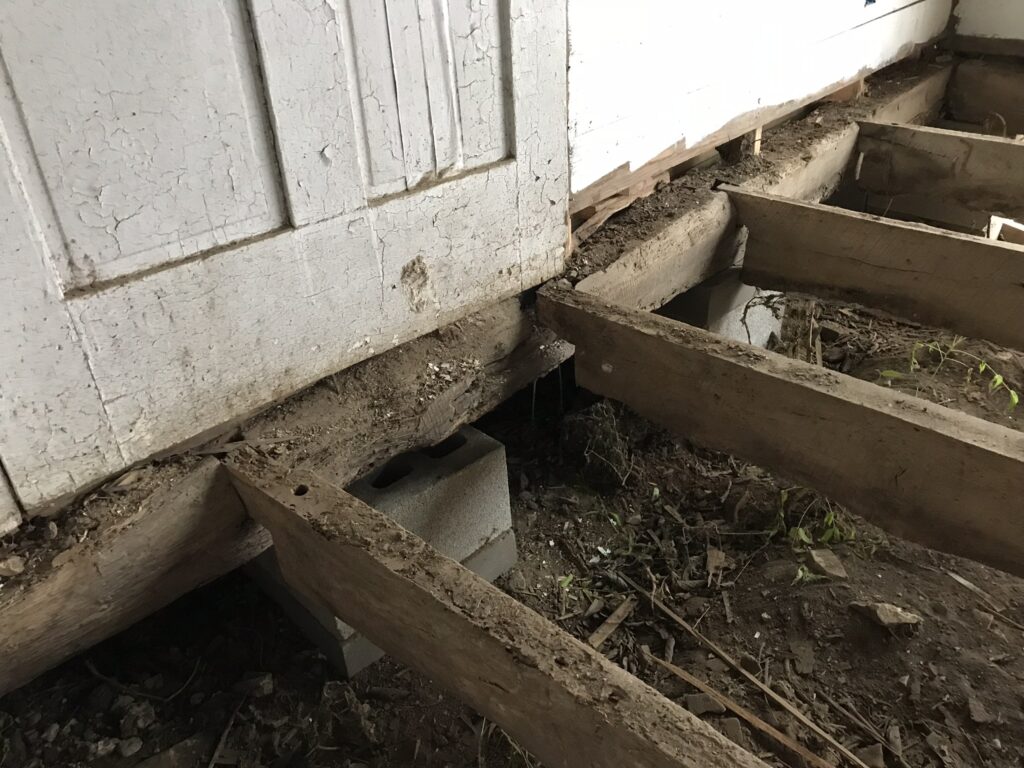
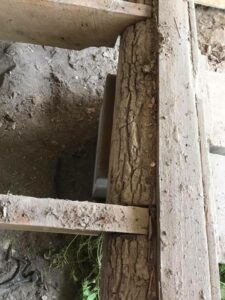 The original floor joists and sill logs fit neatly together. You can clearly see that in the picture on the left. I mean, they were cut to fit…each one of them. Because of this, we wanted to keep all that we could original. Fortunately, the original floor joists and sill logs were all in great shape except for the ones in the small north pen.
In the small north pen, we had to replace a section of the original sill log and all of the floor joists. When we removed the linoleum in this room, we didn’t find original flooring. There were huge patches of plywood and what wood flooring remained, was rotting away.
Previous owners converted this room into the kitchen. The room was on the north side of the house and we had already noticed significantly more weathering on this end of the house as compared to the south end.
Replacing the Joists
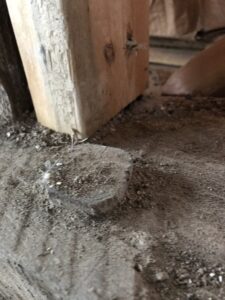
 And so, we pulled up all the old floor joists in the small north pen and replaced them with new joists. Water had damaged the sill logs in the small north pen. We replaced one of them entirely and so it didn’t have notches cut into it. We used joist hangers instead of fitting the joists into notches in the logs.
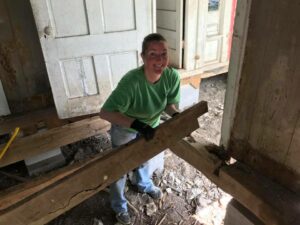
Y’all know this was sad to me, but honestly, what do you do? We had to repair the rotten floors. We saved the beautiful joists and will re purpose them later.
 On the front porch, the original porch had been removed ages ago and replaced with a concrete slab. The slab is famous for it being the likely location of the rattlesnake den that prompted the Great Rattlesnake Roundup of 2018. Here we also used new joists and hangers.
In both of these rooms, we had the opportunity to adjust the spacing of the joists to what today’s standards are. I didn’t want to do this. “Put it back just like it was,” I said. This was a mistake, I think. The spacing of the original joists was wider than the insulation rolls. When we got ready to install the insulation, we had to cut and fit extra into the gaps. With the adjustment, we would have had two rooms where we didn’t have to do that.
The Original Materials We Could Keep
 We kept a lot of original joists and sill logs because they were in great shape. The house needed to be saved, not completely rebuilt using new materials. I was amazed at how much underneath the house was in perfect condition. It was also amazing to me at just how dense and hard the old wood was. We sometimes struggled to get a power tool to drive a screw into the old sill logs. They are sturdy and solid!
Preserving History
When E.S. Wyman constructed this house in 1846, he did it without power tools. Each notch was cut by hand. When the framers got started on the addition, I could hear the “pop, pop, pop” of their nail guns driving nails into the relatively soft pine boards. It was such a contrast with the old house and the way in which it had been built.
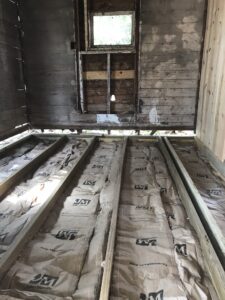
 We loved the old construction methods and didn’t want to cover them up. We decided to use the roll insulation because spray foam insulation would have covered all of Wyman’s work. The foam would have seeped through all the cracks (and there were a lot of cracks). The rolls of insulation caused more work for us, but it makes us happy to think that if, in 100 years, somebody wants to see how the house was built, they can do so.
You May Also Like