Finishing the New Floors in the Old House
Background Work
The floors in the original house. I wanted to keep them, but they were damaged. We knew that wasn’t an option. The original floors were nothing more than boards nailed to the floor joists. There were gaps between them so you could see the dirt under the house. As much as I wanted to restore the house, even I knew that we were going to have to do something different than what there originally.
The first flooring job was to work on the structural parts. We installed plywood under the joists so we could insulate the floors. We then installed the floor decking material. That was a lot of work, but the easy part of the decision making. We may not have had to have done the insulation in the floor, but we really wanted the house to be cozy and with the gaps we found everywhere. We chose to err on the side of caution. The decision on what type of flooring to select was a much more difficult process. We wanted it to look original while staying in our budget. In the end, the best option was unfinished tongue and groove white pine flooring.
Our First Attempt
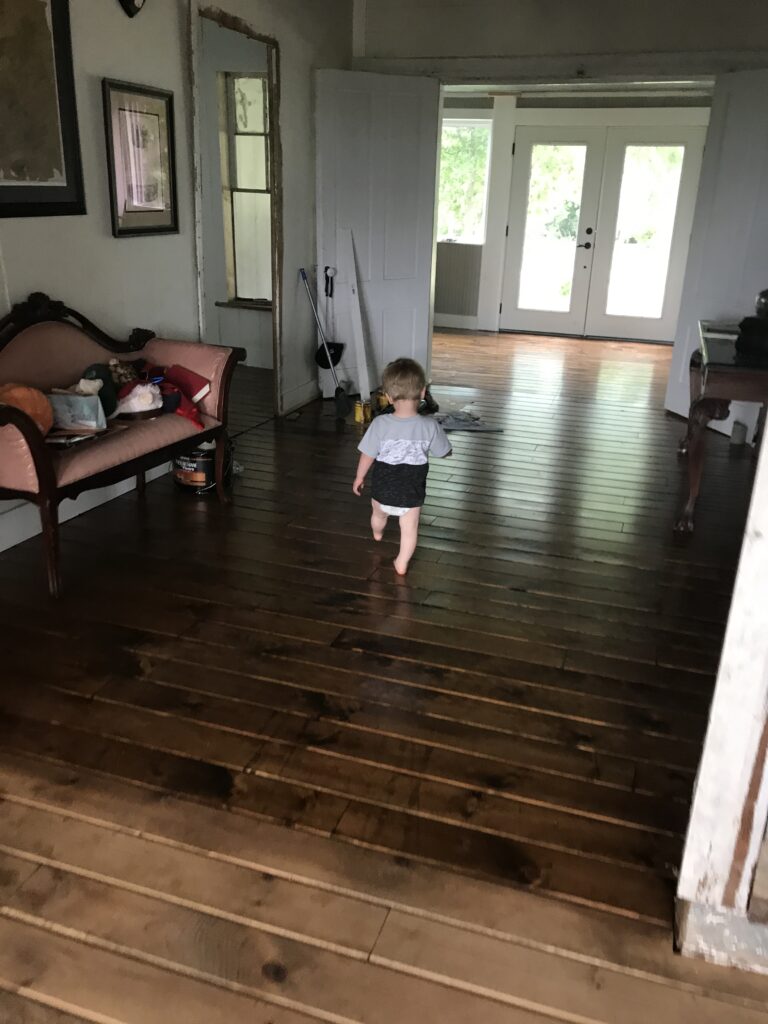
And unfinished meant that we had to now select the finish color and product. That wasn’t easy. The original (yes, that word again) floors had been unfinished boards, worn smooth with use and a straw broom. One room had paint around the fireplace and what looked like a blueish stain on it. Unfinished wasn’t my first choice. Paint and/or blue stain wasn’t my second choice. But I did like the idea of using a finish that looked old and felt great when you walked on it, because, I mean, look at the sweet feet that are walking on this floor. Maybe a wax product? We started investigating.
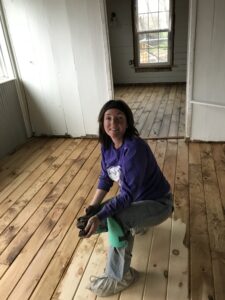
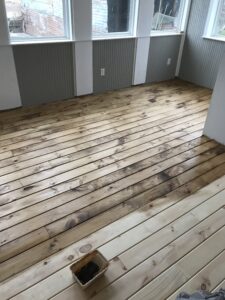 Danish oil seemed to fit the bill. It went on like a stain, but had a polished sheen to it that looked like wax, instead of a high gloss, “I’m covered in varnish” look to it. We bought out Lowe’s and Home Depot’s supply a couple of times because the product only came in small containers. I applied it to the entire house and we loved it!!! And then, we didn’t.
The finish, when dry, had an orange tint to it and felt like we were walking on soap. It wasn’t okay. I wanted warm, glowing floors, not orange, dry-looking ones. However, it was time to move in and so the re-do of the floors took place after furniture was in the house…an extra touch to keep things interesting and the degree of difficulty as high as possible. Sigh…
Getting It Right
We settled into the house before we started redoing the floors in the old house. I applied stain to several samples of the pine flooring that had the Danish Oil on it, determined to get it right this time. The Danish Oil altered the stain colors we applied and we needed to be careful with our color selections. The three colors of stain we had on hand were Honey (pretty dark), Early American (medium), and Golden Oak (light). I love the color of the Early American stain, but we tried to use it on our back doors and on the flooring sample and in both cases, the stain color was blotchy. Strike one.
We applied the Golden Oak stain and it was too light and that left us with the Honey, which I thought might be too dark especially with the walnut color Danish Oil. It was absolutely perfect. Warm, with just a touch of a red undertone. I don’t know that Honey would have been the perfect color without the oil under it, or at least I keep telling myself that to make me feel better about the extra work (and cost) incurred. You can see the comparison between the two finishes in the top photo.
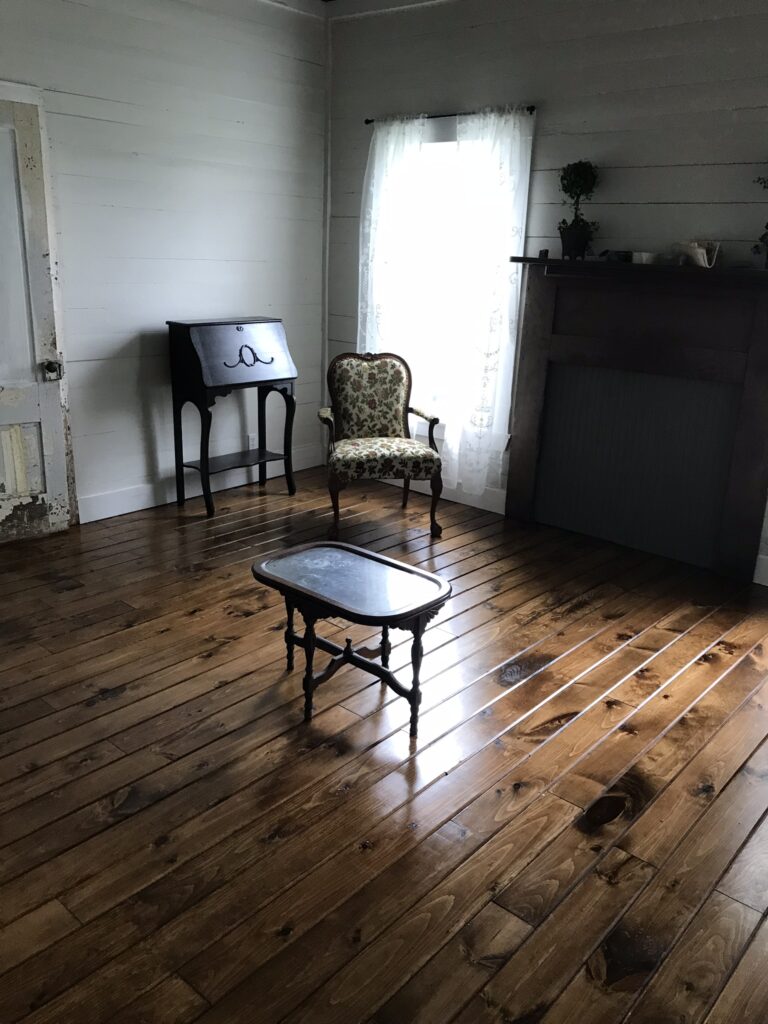
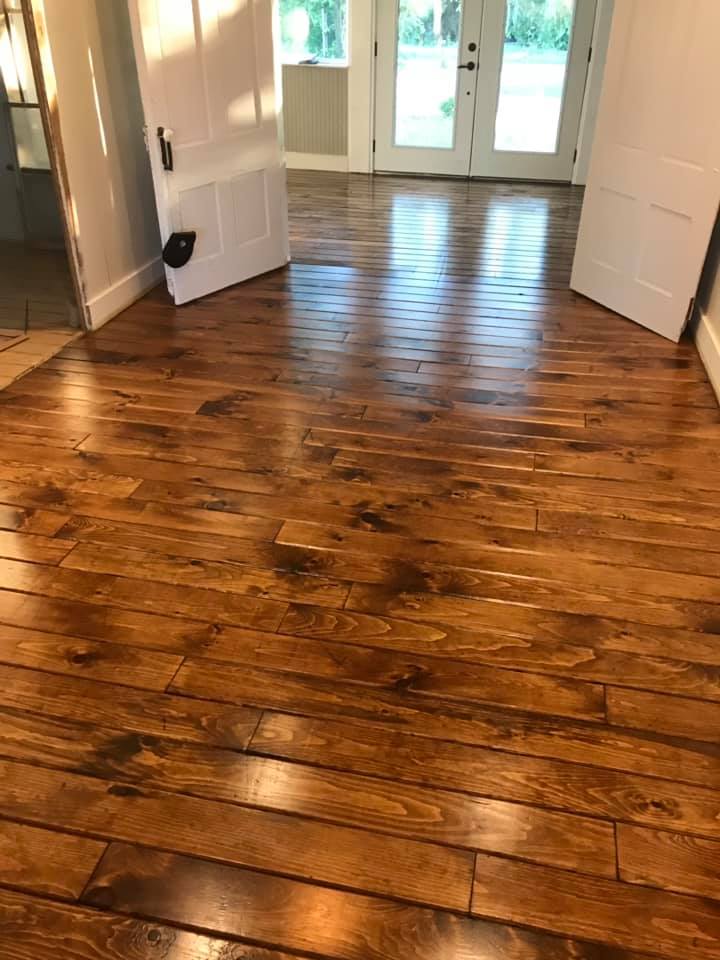 And so, our floors got a coat of Honey stain and then two coats of polyurethane for floors. I finally had the glowing, warm floors that I had dreamed of and that will, hopefully last a very long time.
8 Comments
GLORIA MYERS
Sorry, just read and saw that it is in Hill County. It looks amazing!!
Lisa Smith
Oh my gosh, what beautiful floors you have. What a great job y’all have done. I’m continuing to read, and look at pics, as I go, so pardon me for my gasps, as I follow along in amazement.. lol
Patsy jones
Love these floors.How exciting ti be able to keep your homestead
CindyJanesAttic
So beautiful! Very warm and inviting!
Carol Ann Wolaver
I’m happy to read your floor trials…we have it in our future but only blending old handwood to naked dirty hardwood.
Jana Burch
Well…live and learn, I guess. I wish we would have gone with a floor that didn’t have grooves in it. That is proving to be a pain to sweep and get clean. I think I need to invest in a hardwood floor vacuum. Sigh. The floor looks authentic, so I can’t complain too much. We really didn’t see anything that looked old enough (and the floors that were engineered to look old, looked fake to me). Let me know when you start on your floor adventure. If you need a staple gun…we have one you can have.
Lisa Smith
Oh my gosh, what beautiful floors you have. What a great job y’all have done. I’m continuing to read, and look at pics, as I go, so pardon me for my gasps, as I follow along in amazement.. lol
Jana Burch
Gasp away. So nice that someone is enjoying seeing the progress. It was lonely working on all of this by ourselves!