Wine Making Class – Step by Step
First, It Isn’t Difficult or Complicated
When I made an offhanded comment back in 2009 that I wanted to learn how to make wine, I really did mean I wanted to learn. I thought I would watch some You-Tube videos. Maybe read a book. My husband had other ideas. He got online and purchase all the equipment I needed to get started and suddenly, with no preparation or warning, I was making wine.
It is a good thing that he did this because if I had been left alone, I might have gotten around to watching a video or two. I probably wouldn’t have purchased a book. I would never have invested in equipment and just…well, started.
When I made the first batch, it was daunting to think that I was about to screw up six gallons of wine (that is about 28-30 bottles). I didn’t have much faith that I was going to be successful because I was completely unfamiliar with the process and with the terminology and the equipment. And then there was the thought that wine making is just complicated, right? Tasting it is complicated. Selecting it is complicated. It is just all complicated.
Only it isn’t.
Equipment
I am glad that Jerry took on the purchasing of the equipment. There was no way I was going to wade through all the things that we needed. Turns out, there are beginning wine making kits available to get you started. Here is a link to what Midwest Supplies offers. Right now, they are out of almost all of their equipment kits, but the basic one for $145.99 has all you need in it.
I also would like to insert a disclaimer…I am in no way receiving any compensation from Midwest Supplies for this blog. They are just who we use and who we know. Feel free to shop around.
Step One
You need to sanitize all your equipment. Sanitation is the most important part of the wine making. If you don’t keep everything clean, you make vinegar. I like vinegar and have several different kinds in the pantry. I do not want six gallons of it.
Sanitizing consists of mixing up a couple of quarts of solution. We use One Step from Midwest Supplies. They sell this product in a very small amount or in like a five pound amount. Get the smaller one. It lasts for a while.
The solution is simply mixed with water and then you rinse all of your equipment with it. I use a two cup glass measuring cup to pour the solution through tubes and siphons so that the insides are sanitized AND the outsides are as well. I pour it into the buckets and carboys and swirl it around several times to ensure that everything is good and clean. When I do the lids and the airlocks, I am very careful to pour the solution through any gaskets/holes so that there isn’t any bacterial hiding.
Before I sanitize the equipment, I clean my kitchen counter and lay out clean paper towels. As I sanitize each piece, I lay them on the towels to ensure they don’t come into contact with anything.
Come to think of it, this is probably a cool activity during the COVID-19 outbreak. You do not want any contamination. Don’t touch your face and then touch the equipment. If you touch something that isn’t sanitized, you need to use hand sanitizer before you touch your equipment.
It is a pain, I know, but I would rather have wine than vinegar….
Jerry says that I am a sanitation freak, but I have never had a problem with sanitation. Obsess about it, and you won’t either.
Step Two
Starting the wine is pretty exciting. We buy our kits from Midwest Supplies. Here is a link to all of their wine kits. Once there, you can search by region, red or white, or wine type. We started out with the cheapest wine kits because we didn’t know how it would turn out. The $79-ish kits are incredibly drinkable. They just started offering a $49 “everyday wine” kit. I ordered one of those two days ago and will be making it soon.
The grape juice comes in a huge bag and has to be reconstituted, just like frozen juice in the little cans. The instructions will tell you if there is some additive you need to use and when you should include it. Most often, you carefully pour the juice into your primary fermenter and then fill to the 6 gallon line with water.
Here is a tip. I place the sanitized bucket on the ground when I add the juice. I then move the bucket onto the counter where it will remain before I fill it with water. Those buckets get heavy so be thinking about how you are going to manage.
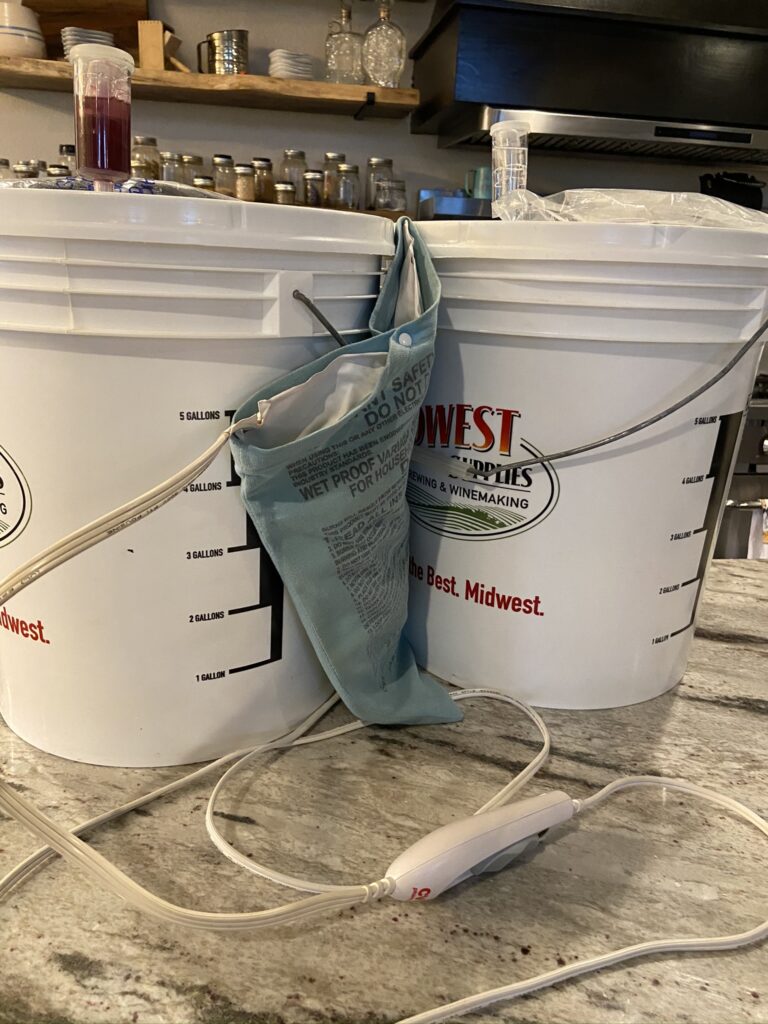
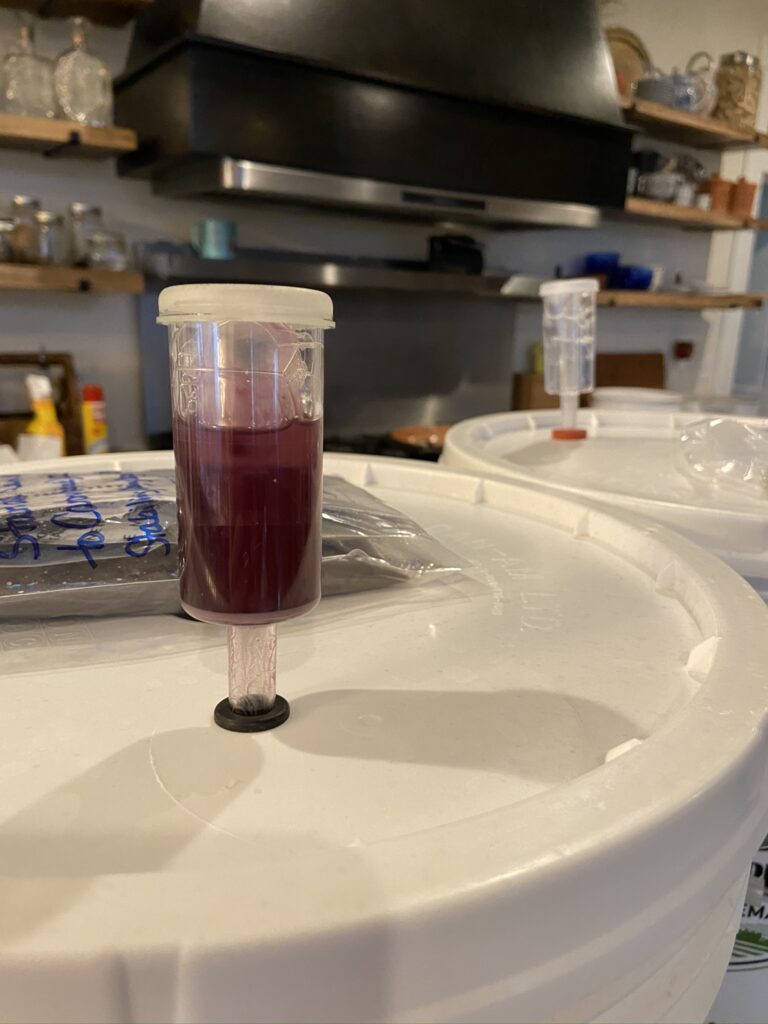
Once the wine is reconstituted, you add the yeast, place the airtight lid on along with the air lock and wait for the bubbling to begin. Yeast likes to be warm, but not too warm. If you have made bread, you know what I mean. The juice and water can’t be too warm or cold. The basic equipment kit has a thermometer in it. Do not leave your bucket on the floor. It will be too cold for the yeast. I have had to throw a heating pad between my buckets to help get the fermentation process started, but that doesn’t always happen. Just know that you have to have bubbles coming up through the airlock or you do not have fermentation.
The bubbles are important. When the yeasts begin to convert the sugars in the juice into alcohol, they expel CO2. That CO2 has to go somewhere and it escapes via the airlock. It smells like yeast or a new baby poop. You are going to love it.
Step Three
Some kits want you to transfer your wine from the primary fermenter into the secondary one. This is to help with the clarification process which will be taking place later. You see, the yeast dies and falls to the bottom. This results in a sludge and you don’t want that in your wine. It is for this reason that some kits want you to transfer at this point. This may also be the time when you add things like oak chips or other flavorings that will come with your kit. Remember, you must sanitize all equipment!
Step Four
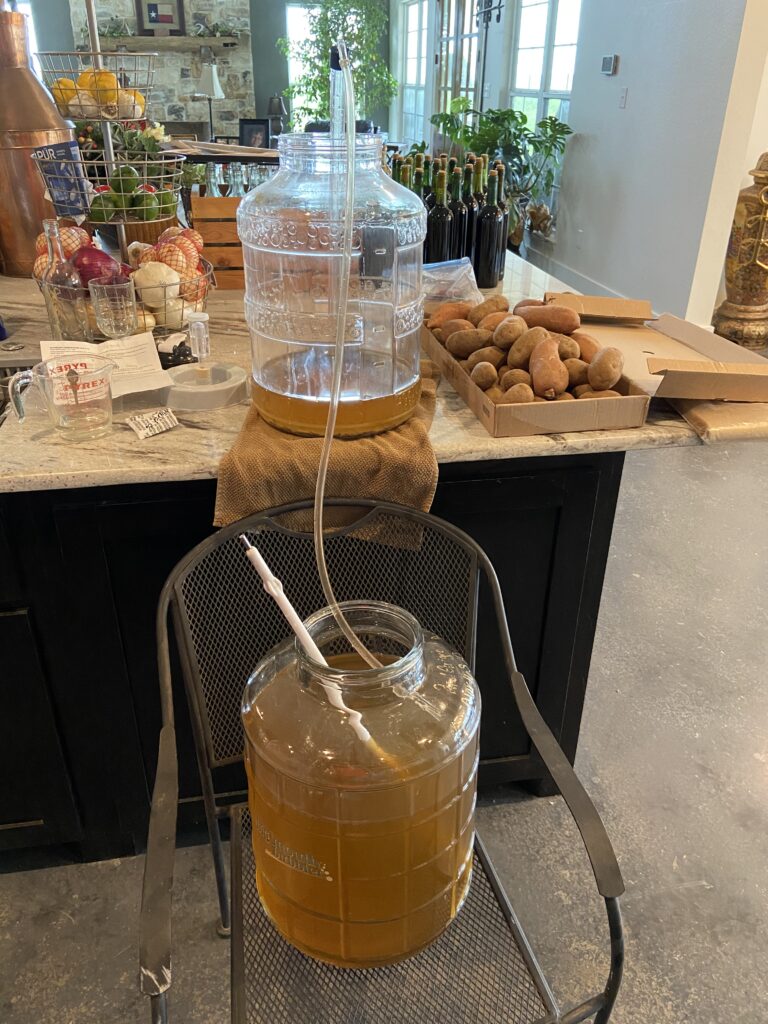
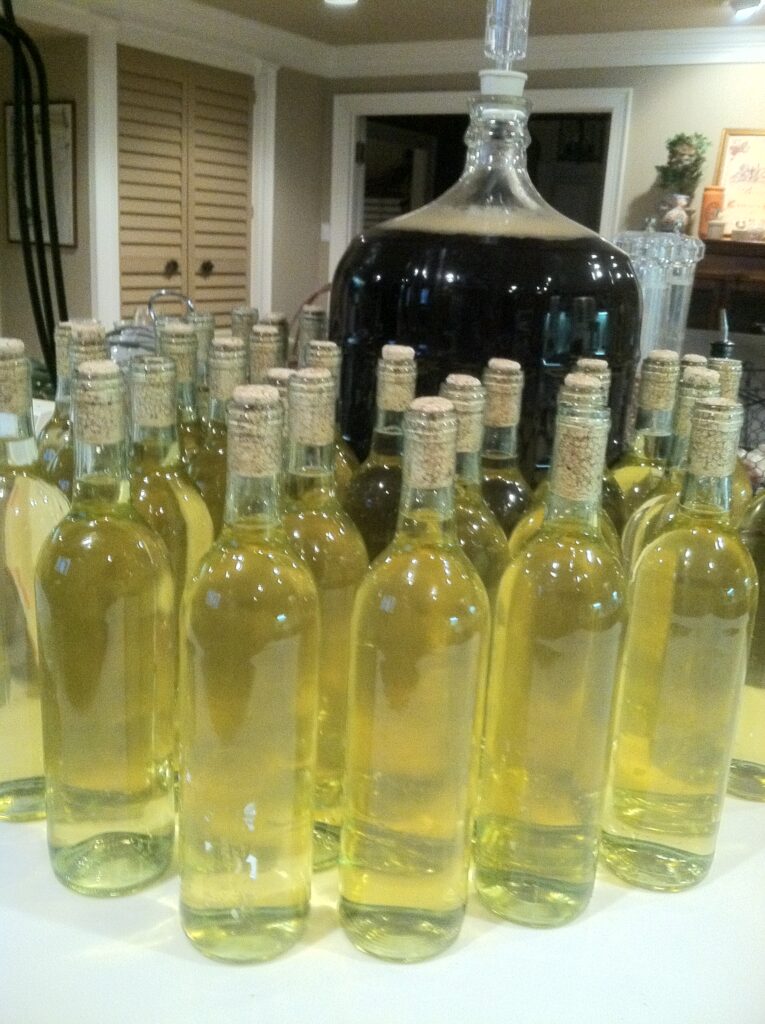
Step four usually requires another racking of the wine. Racking means you are transferring it again from one container to another. This transfer helps remove some of the yeast sludge, but also the oak chips if you had to add them. During this transfer, the instructions will say to vigorously rack it. You are trying to get the CO2 gasses out of the wine as they prevent the wine from clarifying. When I do this step, I adjust my tubing (attached to the siphon) so that the wine drops into the carboy a bit. That is what is going on in the photo above.
You will then be instructed to add, one at a time, the additives that will clarify, stabilize and preserve your wine. You will use that degassing stir thingy and stir for a while after adding each of them. The instructions say 2 minutes). You just want to get the bubbles to come to the surface and drive out as much of the gas as possible. Remember to sanitize all equipment!!
Step Five
Bottling is the last step.
Bottle preparation is huge. I use a bottle brush and hot water to scrub out the bottles and then I place them in the dishwasher to sanitize them.
DO NOT USE SOAP!!! EVER!!! ON ANYTHING THAT HAS TO DO WITH WINE MAKING!!!
Do use heated dry cycle. Let the bottles cool.
Sanitize all bottling equipment. You will need the siphon, the tubing and the wand used to fill the bottles. You will also need 30 corks and the corker.
We get a chair to sit in and place the bottles on the floor. I put a paper towel down to catch any overflow. When the wine reaches the lip of the bottle, quickly remove the wand and the wine level will be at the bottom of the neck.
We fill all the bottles and then move into the corking part. As soon as we are ready to start filling bottles, I place all of the corks in the bowl with the sanitizing solution and place a dinner plate on them to submerge them. When it is time to cork, I splash sanitizer through the parts of the corker that will be touching the corks and bottles and get busy.
You must leave corked bottles upright for about 3 days so that the corks seal properly. After that amount of time, they are ready to be stored on their sides or upside down. Why? Corks need to be kept wet or they can dry out and compromise the seal, leaving the wine vulnerable to bacteria.
Midwest Supplies sells both bottles and corks. The bottles you buy depend on the wine you make. We typically use straight neck green bottles for our red wines. We use straight neck clear bottles for our white wines. We use the sloped neck green bottles for Chardonnay and Pinot Noir. It is your preference, of course.
We also saved store-bought wine bottles for years to increase the number of bottles we had. If you do this, know that you absolutely cannot reuse screw top wine bottles and removing labels (and the adhesive) is a pain in the butt. Which brings me to a few last thoughts.
A Few Last Thoughts…
You can purchase labels for your wine bottles. I have not had good luck with them. They do not come off of the bottles easily and removing labels is the most work of the entire wine making process. Instead, I use a Sharpie paint pen (gold metallic). I write directly on the bottles and then use a steel wool pad to remove it when I am prepping the bottles to go into the dishwasher. It is so much easier!!!
Something you also need to know. It is illegal to sell your wine. It does, however, make a very nice gift. You are free to give it away.