Bathroom to a Guest Bedroom: Renovation Step One
We Begin on the South
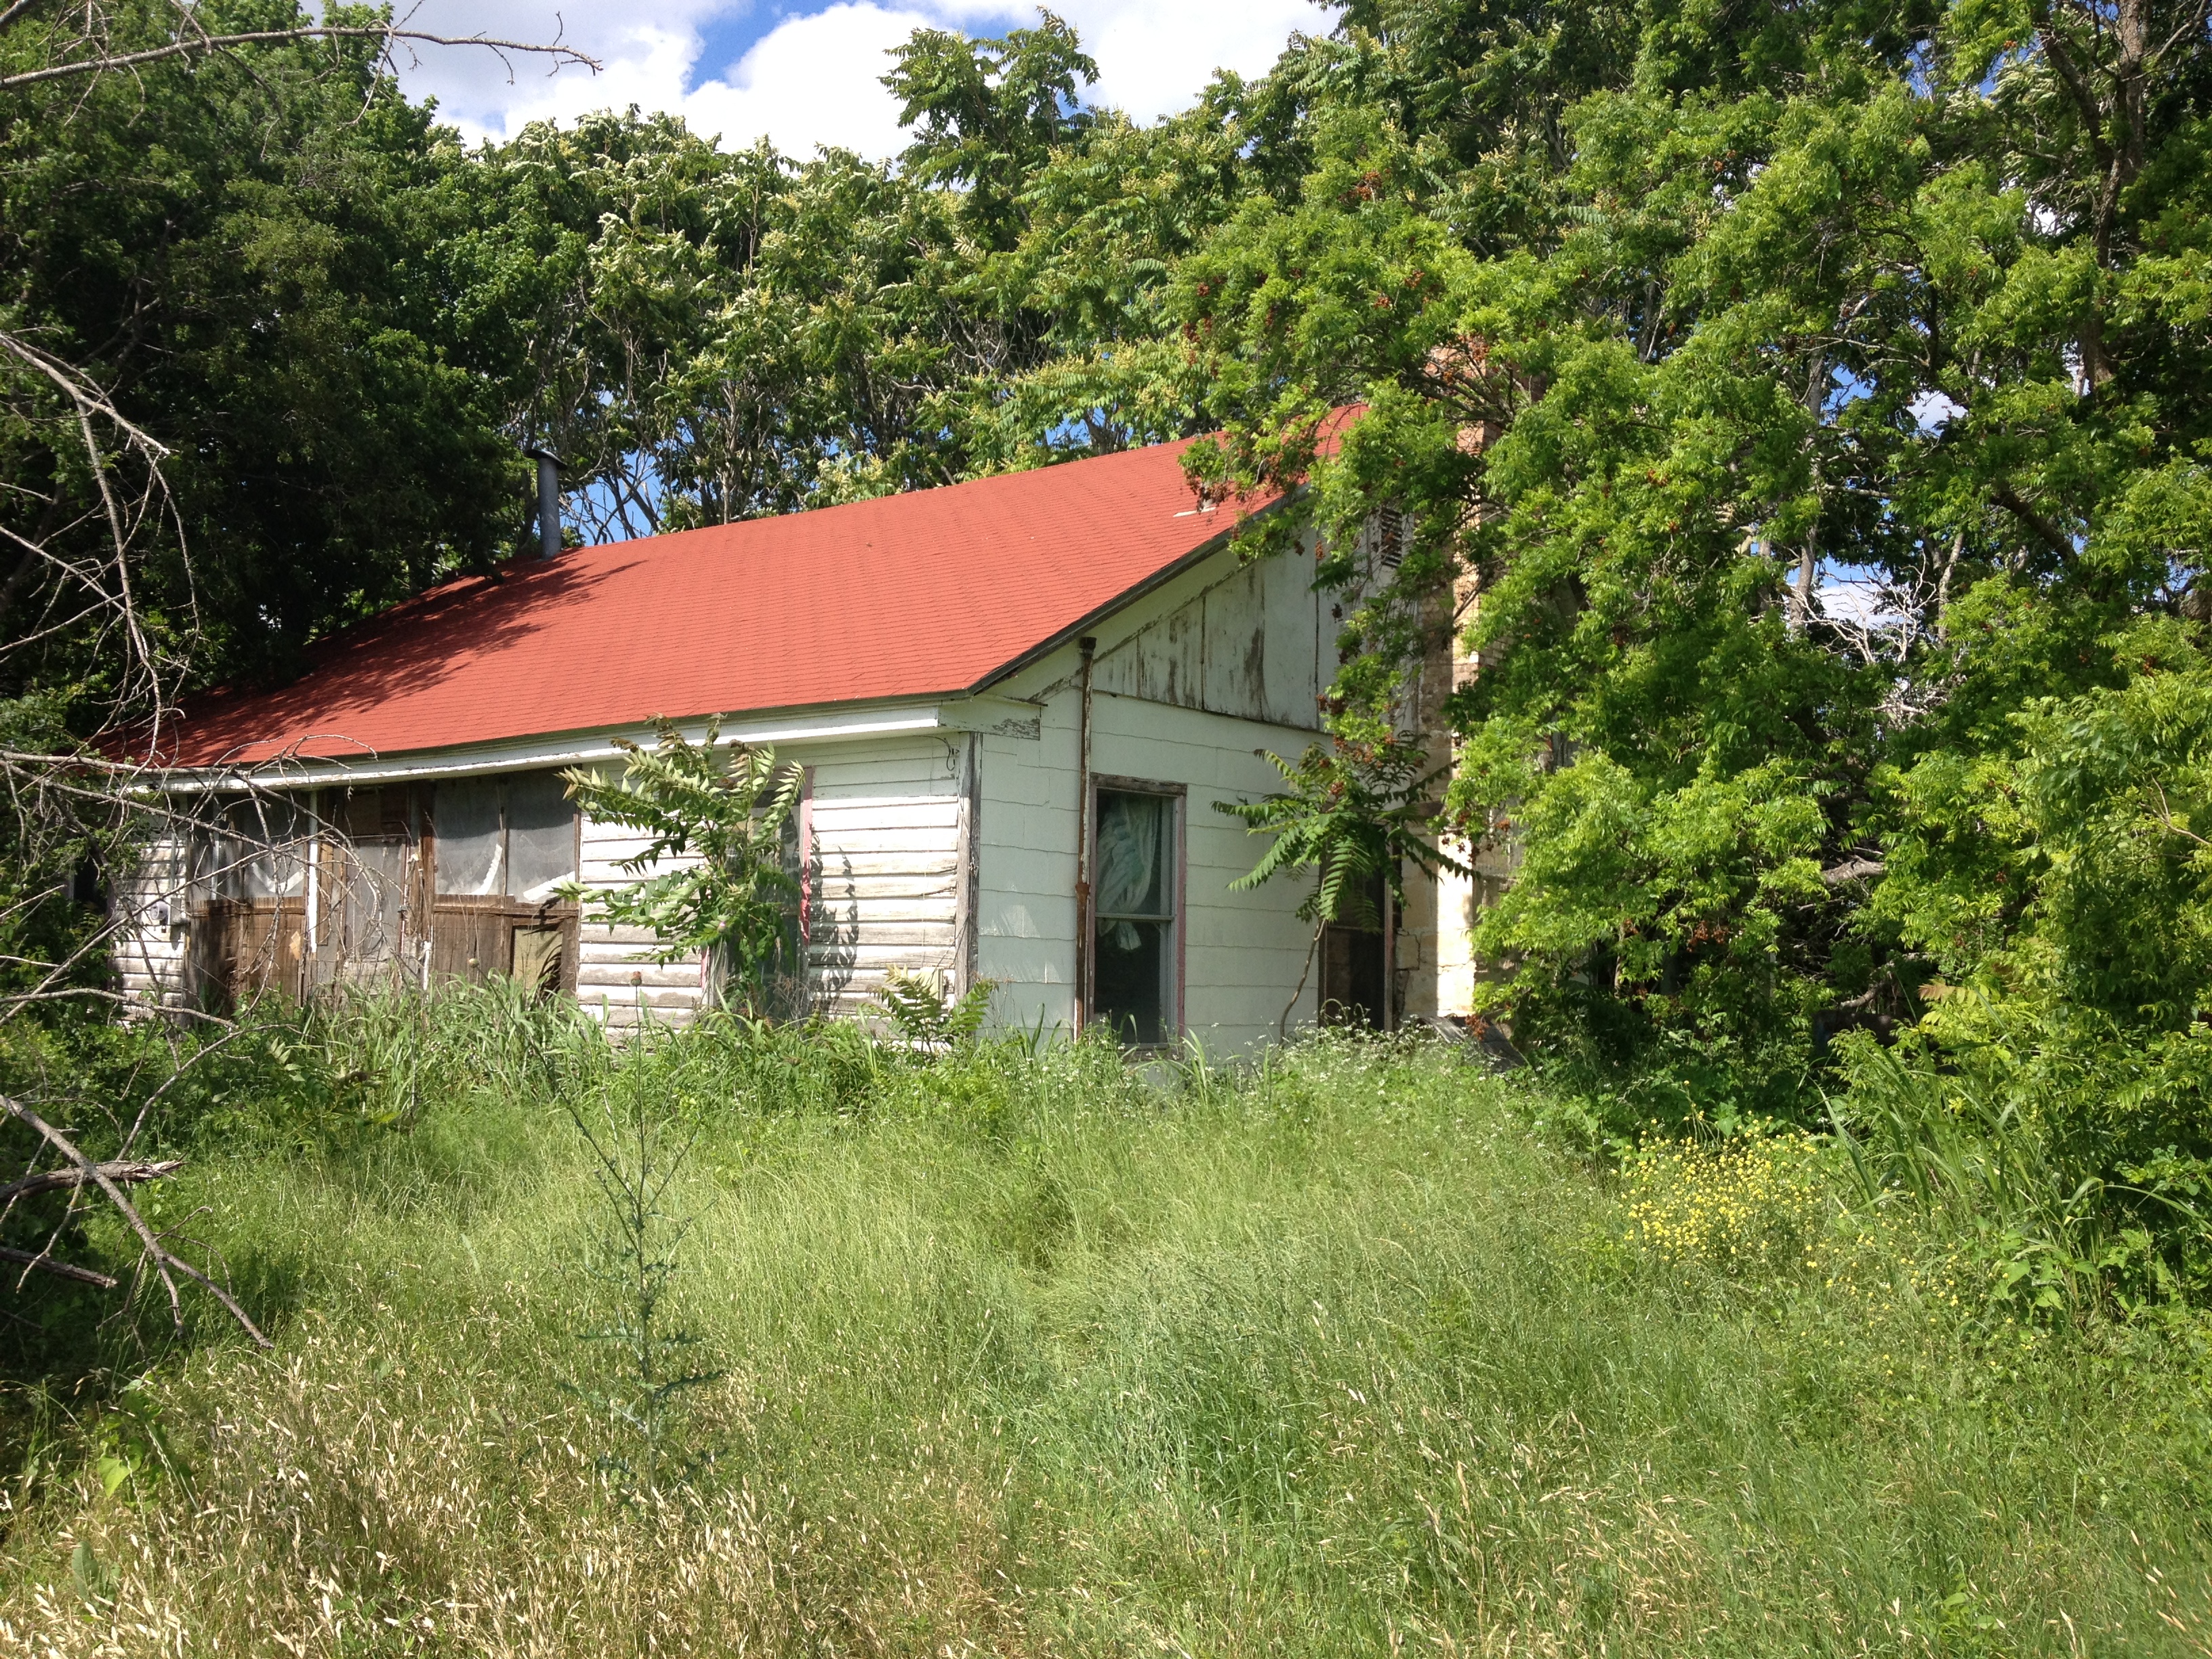
The small pen on the south side of the house would be our daughter’s bedroom when she came home to visit with her family. It adjoins the room where she bravely had her wedding pictures taken. When finished, the idea was for her to have a small bedroom, a sitting room and a private bath.
This room would be the first we tackled, but not because it belonged to daughter. We always started on the south side of the house. It didn’t matter the project. We emptied the south side first. We removed the sheet rock in the south side first. One reason for this is that we (okay…neurotic me) thought that the north side of the house was a rattlesnake infested, mold and mildew, rotten heap of house. I thought the odds were pretty good that it could collapse. My thought was that we should practice on the sturdier south side.
The Small South Pen
On the south side of the house, the small pen had been converted into a bathroom. The bathroom was designed terribly. That isn’t fair. This bathroom wasn’t designed. Previous family members who lived here had a space and just starting putting fixtures into it.
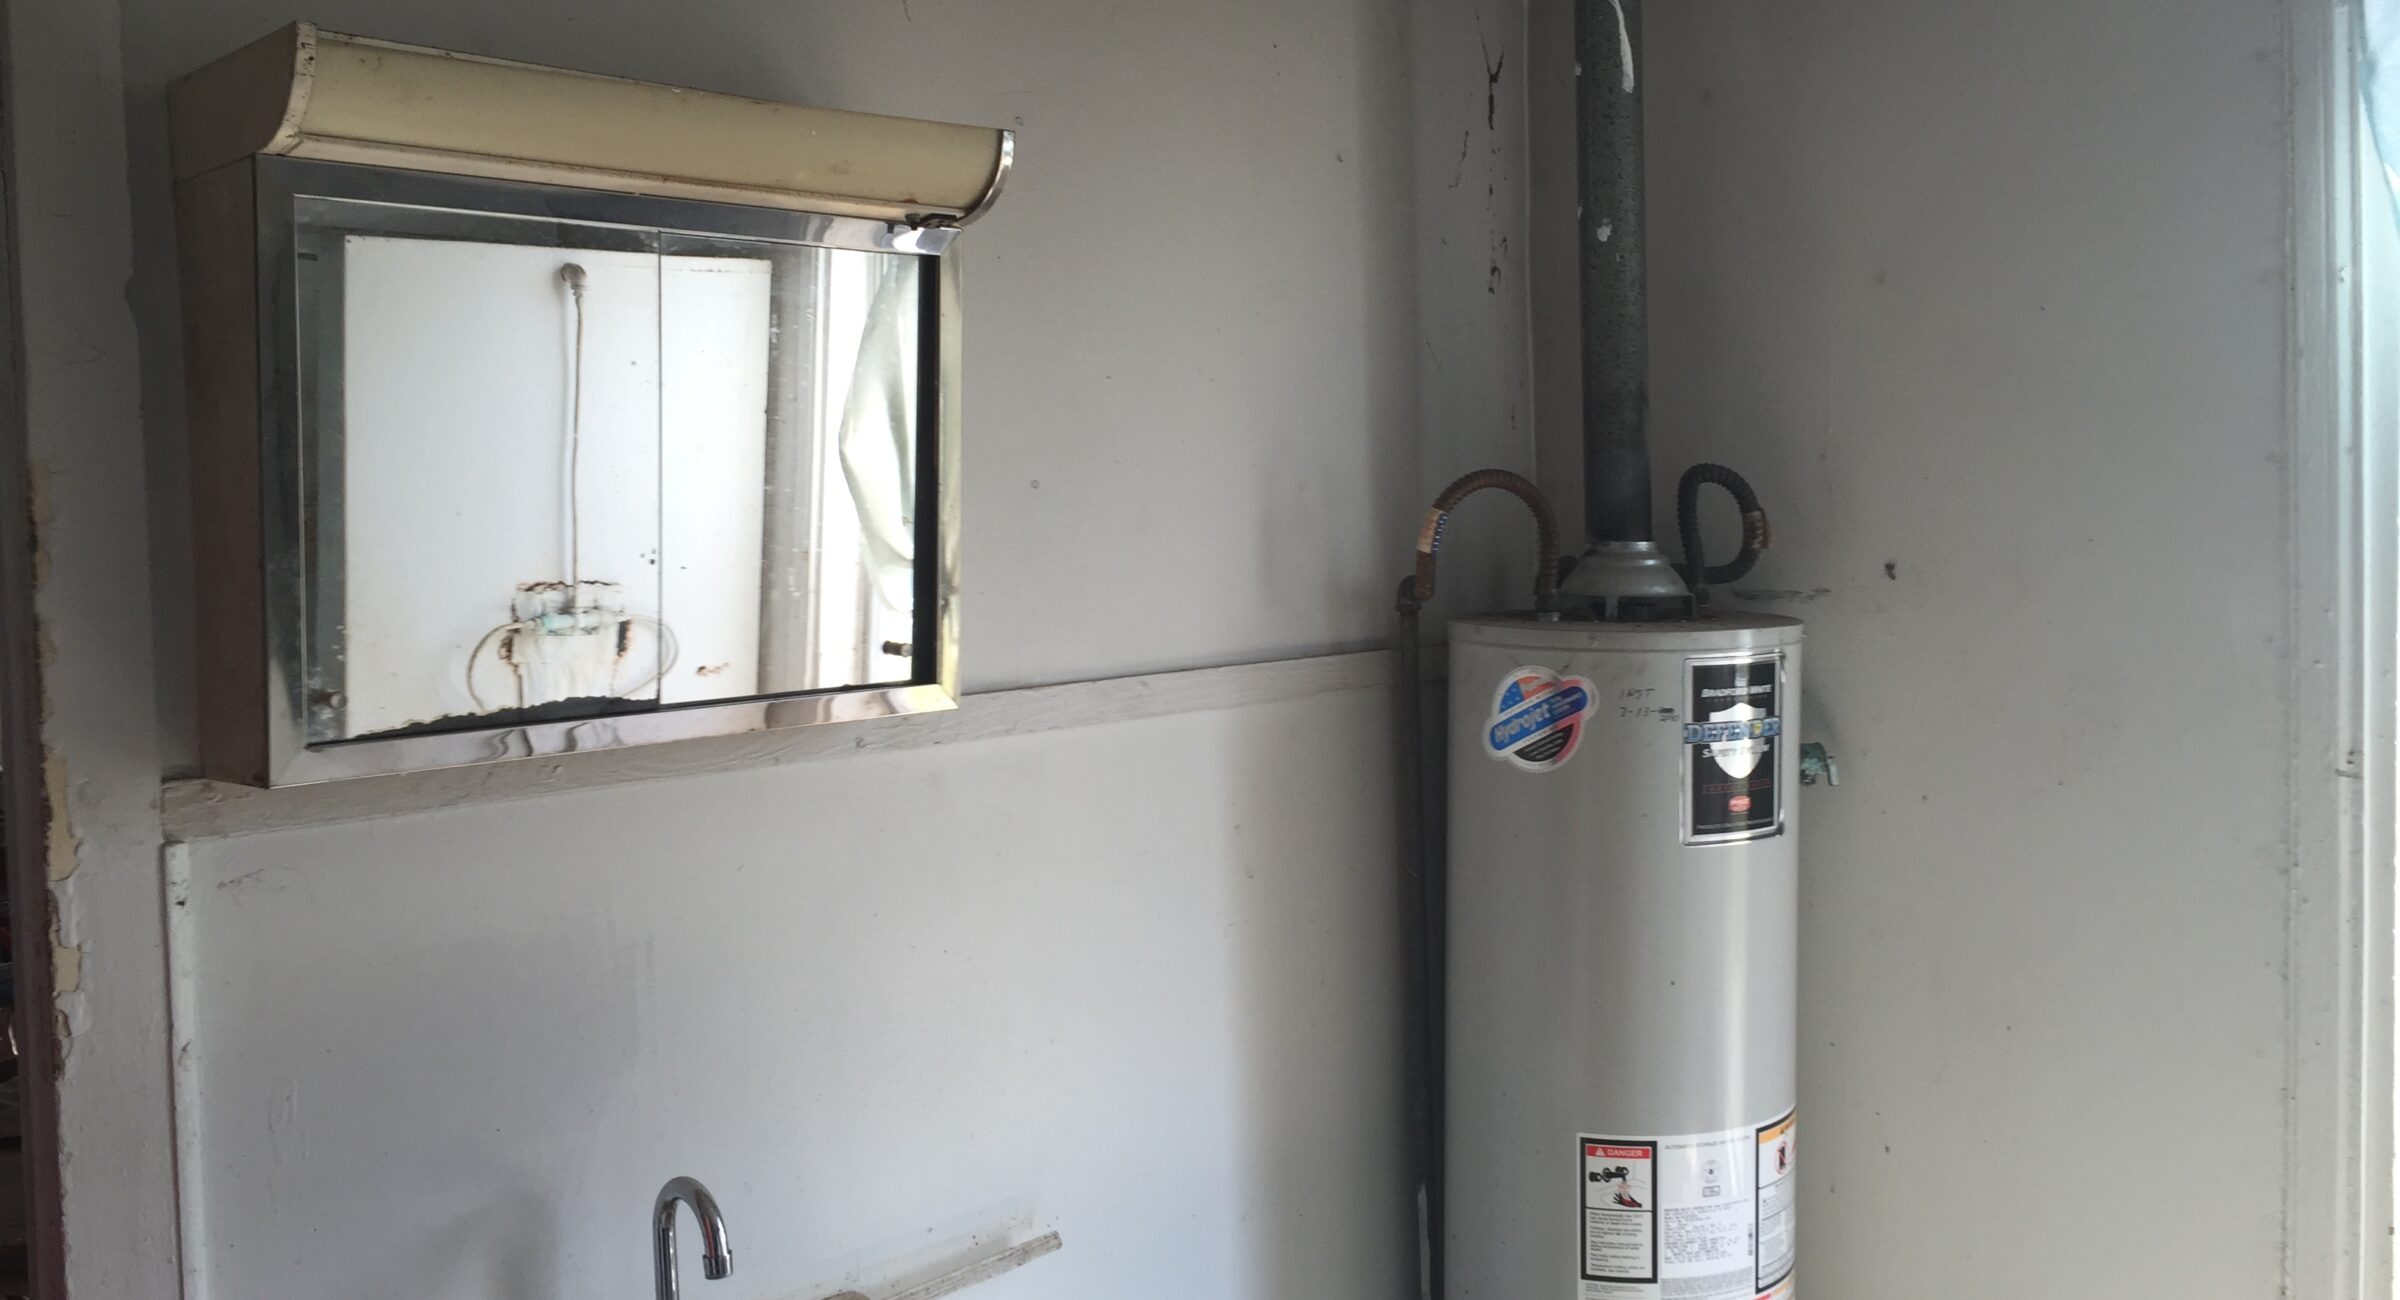
There was a toilet in front of a low window. You, theoretically, could sit on the loo and yell “yoohoo” at passing cars. A metal shower stall (Yes, it was rusting. Yes, it had rotted the floor underneath.) stood in the corner. The water heater occupied the adjacent corner. There was ample room for the washer and dryer installed here as well as for the huge wardrobe. When we emptied the room of all the appliances, I realized that there would be plenty of room for a queen-sized bed and probably a dresser. It was larger than it first appeared.
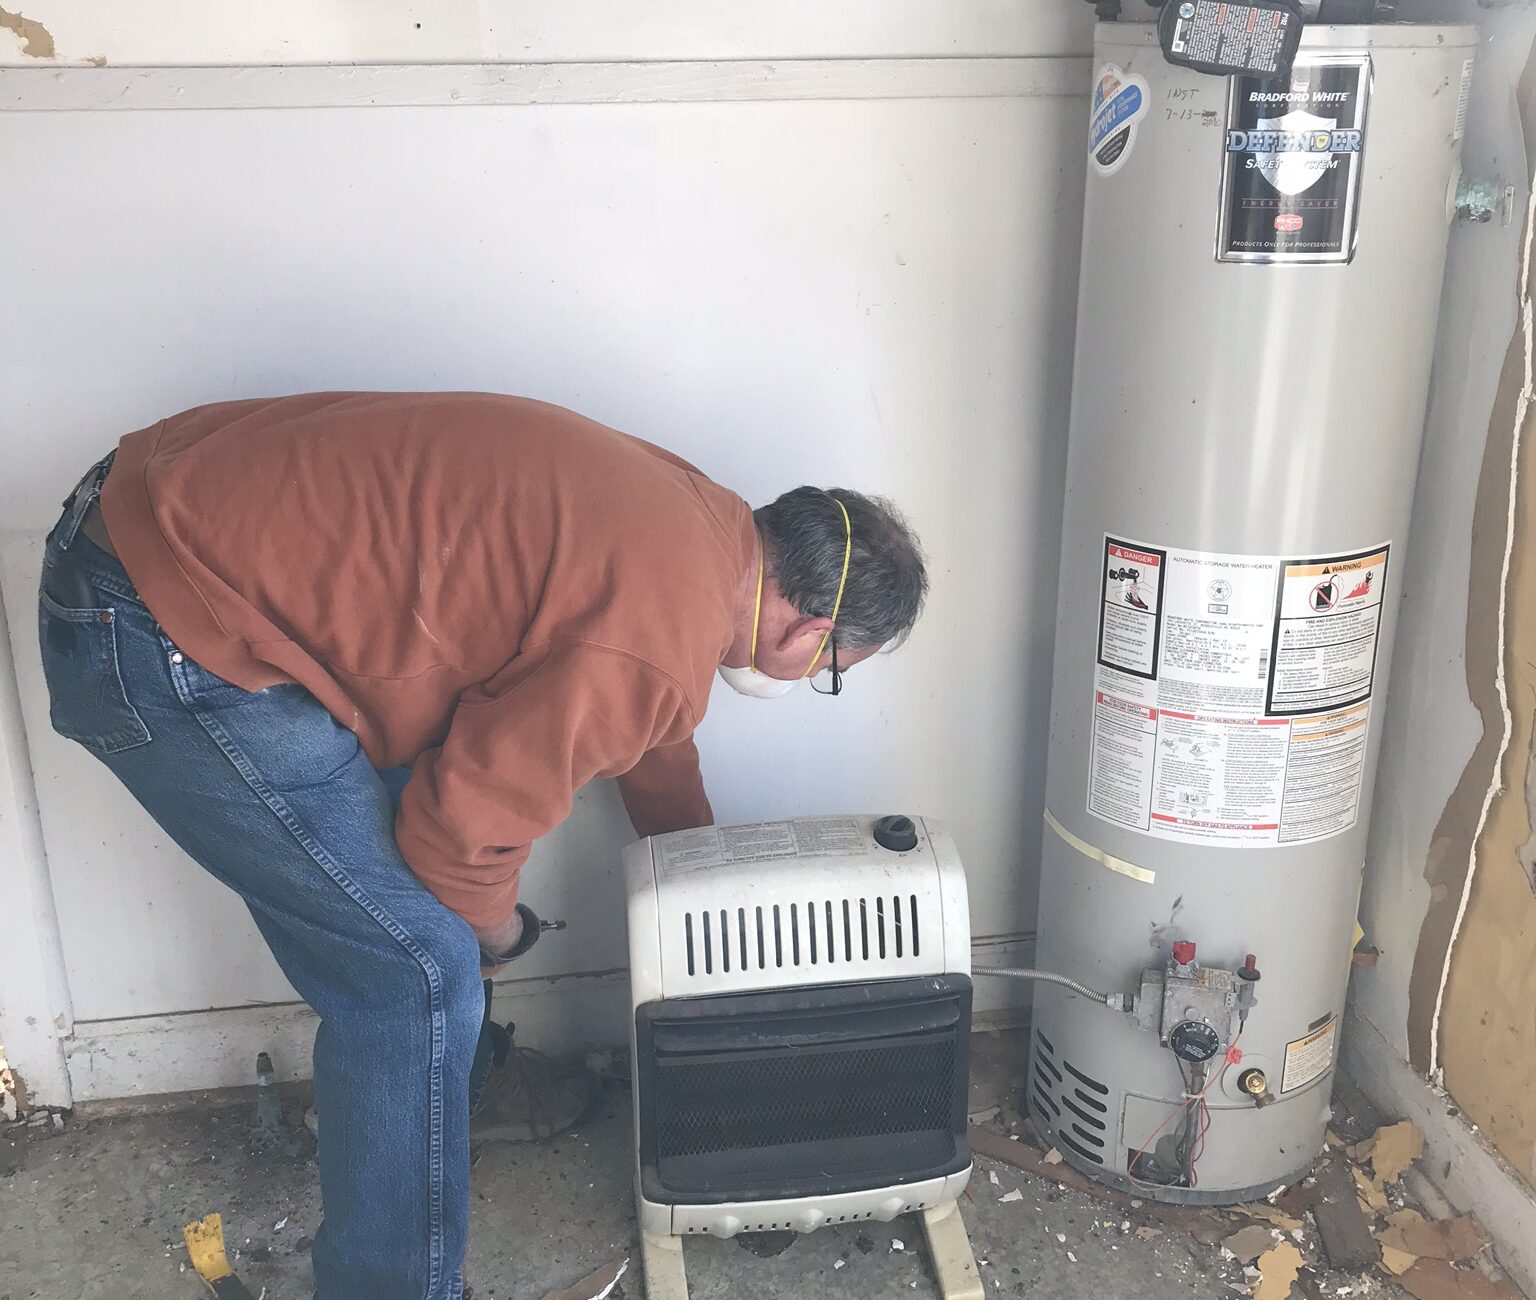
 Both small pens would serve as guest bedrooms. This sweet little room was about to go from nasty bathroom to cute guest room. It was in for quite the overhaul. We removed the appliances and fixtures and got to work deciding what needed to be replaced.
The floor was in pretty good shape. The hardwoods where the toilet and shower had been were rotten, but the majority of the flooring was solid. Unfortunately, the flooring was the dark, narrow plank flooring that had been in the kitchen and the center hallway. There wasn’t enough of any of it to do a room. This wood flooring was removed and saved for another project.
Develop a Process
 We were mindful about what we were doing and when. It was important that we try and develop a process of doing things we could replicate in the other rooms. All sheet rock, nails, and wallpaper were removed. We removed all of the pipes and appliances. Next, we moved on to the floor. This required us to remove the flooring and replace the floor joists.
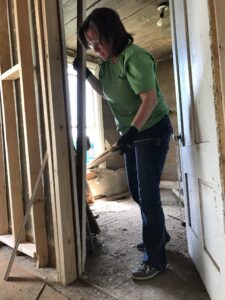 We also had a load bearing wall that needed to frame in here as well. This plank wall was collapsing under the weight of the ceilings. The picture shows the framed wall and the original wall. You can see the bow in it clearly.
Unlike in the north side of the house, the plank wall was in great condition. When we framed the load bearing wall on the south side, we were able to use the original planks in the soon to be bedroom. We had to install new boards in the large south pen.
Once all of this was completed, we removed the flooring and replaced the floor joists. We then moved to the outside and began the work there.
Outside on the South Side
The clapboard was removed and saved for projects down the road. I had dreams of accent walls and whatnot. Jerry started pulling the electrical wiring for the small pen/bathroom/bedroom. When he started doing the electrical work, he had quiet the challenge as the breaker box wasn’t installed. Heck, the wall where the breaker box would one day be installed hadn’t been built yet. However, if we were going to keep on schedule, the electric had to be done so we could finish the exterior of the house.
South Side Treasure
There was actually quite a lot of treasure in this old bathroom. When we first bought the house, it was in the wardrobe in this room that Jerry found books and Bibles they had brought from Scotland. In this wardrobe were handwritten land records from the 1850’s on. I’m still amazed at all that we found in here.
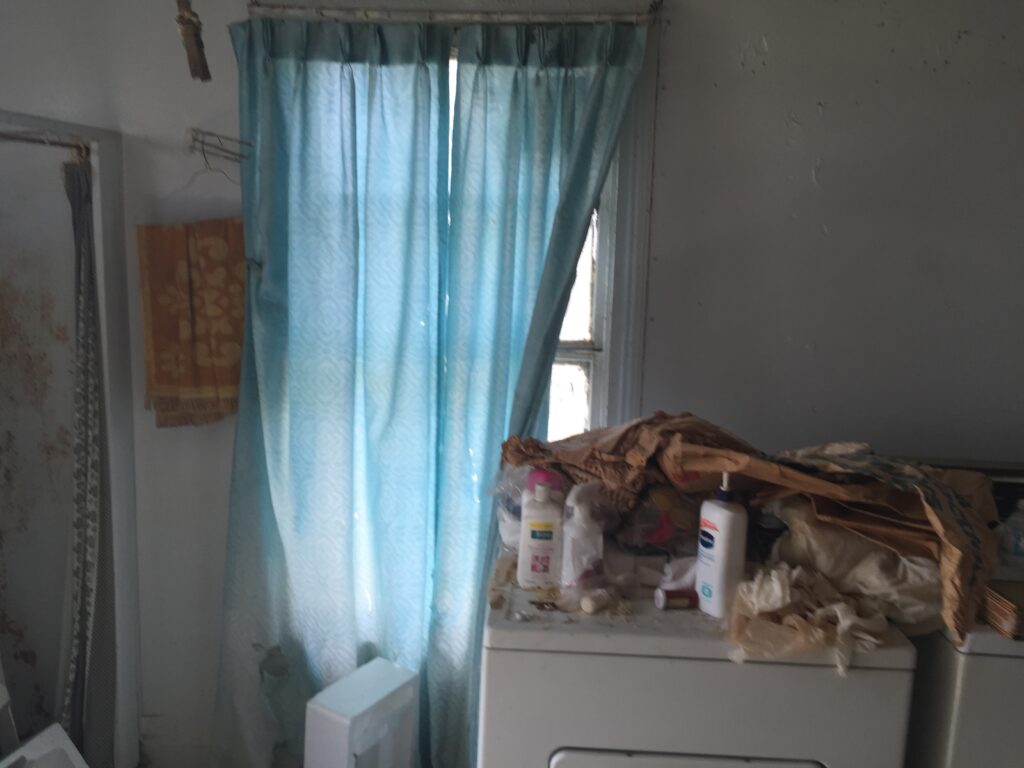
There was another treasure found in this room during the restoration/renovation process. Behind the washer and dryer and behind the blue sheet being used for a curtain, was an original wooden window. It was on the exterior of the house, exposed to the elements and it was in bad condition. We carefully removed the window in hopes of re-purposing it. You see, I had a place that I needed that window to go. Flanking what had been serving as the front door were two windows. The window to the left of the door had been replaced by a door leading into the large north pen. I needed this window to replace the one they had removed.
Insulation and OSB Installation
Once outside, we realized that the changes we made would be the first indication to the world at large that we were renovating the house and not killing by inches. Outside, once the electrical wiring was completed, we installed the rolls of insulation. The rolls are designed to fit perfectly between modern day framing. Unfortunately, old time framing is wider and the rolls didn’t fill up the space. We cut the rolls and filled the gaps to ensure that the house had a chance to keep us cool or warm.
After the insulation was in, Oriented Strand Board or OSB was hung on the exterior. Ha! It was hung…easy as that. Not exactly. Each sheet weight 76 pounds. If the wind was blowing, it acted like a sail. Jerry and I did this by ourselves which meant that one of us had to hold it in place while the other used the drill to install it. It was a job, but when you are covering 4′ X 8′ at a time, it went quickly.
Reinstalling the Floor
We had to reinstall the floor. A concern we had was that the old house would not be able to maintain heat or cool air and would be uncomfortable. I know it is an old house and that is the way they are. However, we had an opportunity to do some things to help make that better. One thing was we insulated the floor. When we had seen the original flooring, we noticed that you could see through the boards. This was probably cool in the winter. I wasn’t a fan.
The solution was simple in theory, but a pain in practice. Jerry and I would slide sheets of thin particle board through the floor joists. We would position them and Jerry would slide underneath and screw them into the floor joists. This seemed to take forever. Once in, we placed the rolled insulation between the joists and topped with AdvanTech tongue and groove decking. I just thought OSB was heavy. AdvanTech sub-flooring sheets are about 100 pounds each. Luckily, we could slide them into place.
First Time Window Installation
We were first time window installers and so I was a little bit nervous. I shouldn’t have been. Window installation was a breeze. We wrapped the house with the construction fabric and slid the widows into place. A few screws, and they were installed. It really couldn’t have been easier. The process went beautifully and in just a couple of days, this room was complete.
You May Also Like