Kitchen to Bedroom: Floors, Windows and Paint
Rebuilding the Room
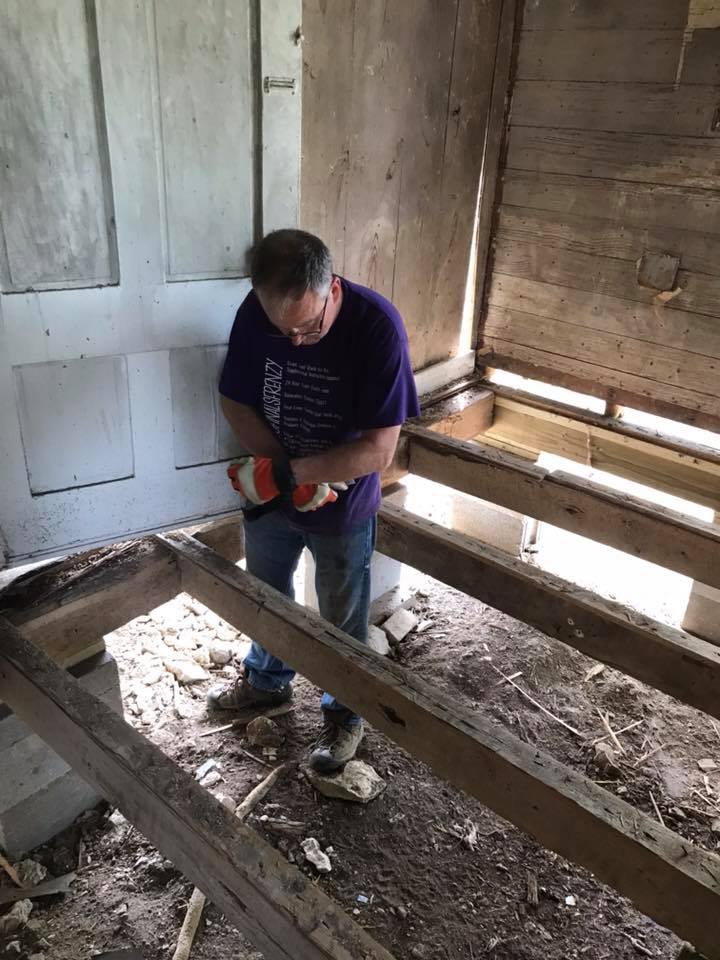
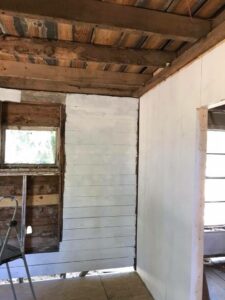
By this time, we had ripped up the flooring and torn down the ceiling. We had removed the clapboard siding and could see daylight under the walls. This did make it easier to level the room as we could walk around unimpeded. However, it was time to put this room back together. The room was aching for a new floor, windows and maybe even some fresh paint.
Floors First
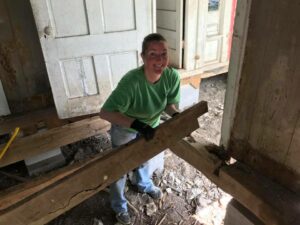
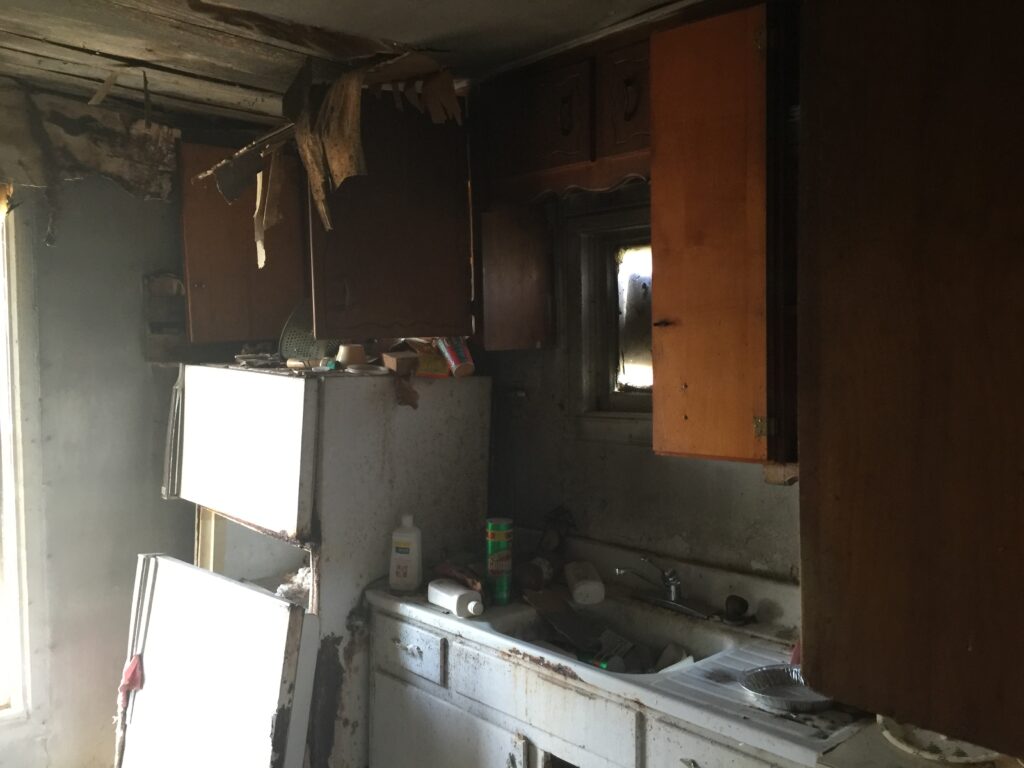
The floor in the kitchen/bedroom was a total loss. When we removed the linoleum, there was plywood covering most of the floor, with little hardwood remaining. It looked as if there had been a water leak. We were afraid that the joists underneath could be damaged. Upon inspection, there was some decay on the ends and we chose to replace them. We were able to use the original notches in the sill log on one side. The other side of the room had a sill log that had to be replaced. We opted to use joist hangers on that end.
Sub, Sub-Flooring and Insulation
 When we removed the flooring in the north pen and exposed the original flooring, we realized something. We realized that you could see the dirt under the house. And we realized that there was a significant amount of air blowing under the house and up through the floors. Jerry and I thought about our expectations. We wanted the house to be comfortable especially on the shady north side. That meant warm in the winter and cool in the summer. Insulation was a huge consideration because we also didn’t want to be paying a fortune for utilities.
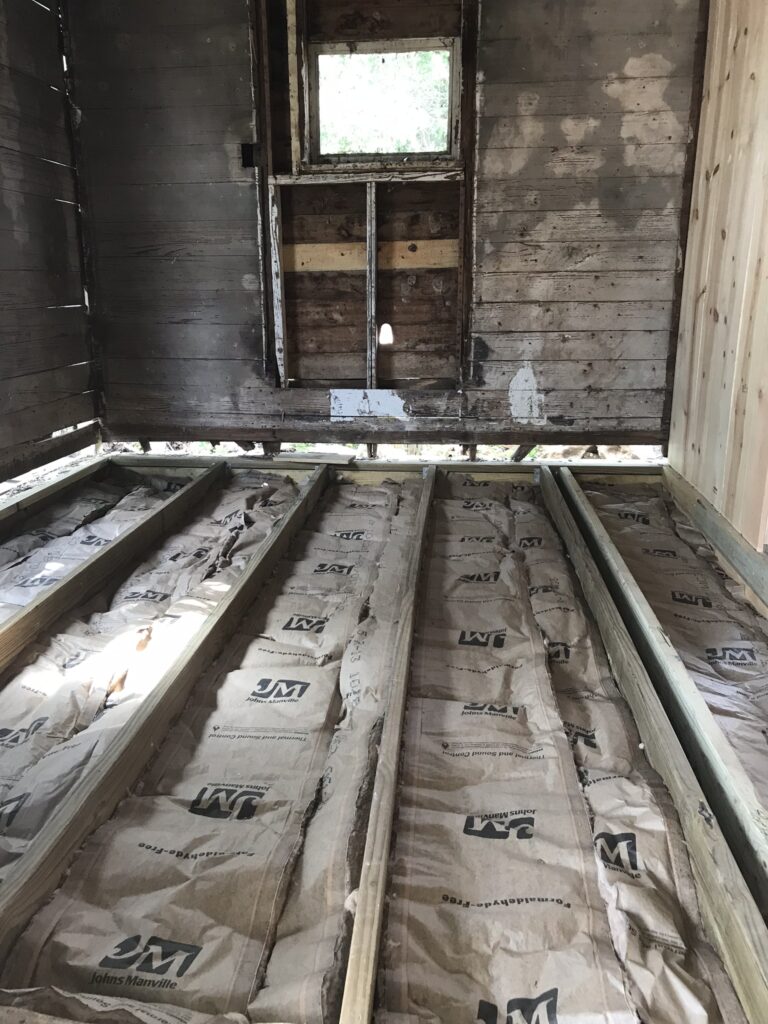
We decided that the old house was probably not going to be very energy efficient, but we needed to put in as many measures as we could to help her out. Jerry and I decided that we needed to insulate the floor, and yes, it had to be done backwards (sort of).
We used a thin decking board to screw under the floor joists. On top of this, we laid the rolls of insulation. We installed the heavy AdvanTech sub-flooring on top. In case you are wondering…AdvanTech sheets weigh about 100 pounds. I can only say thank heavens we were installing them on the floor and not the ceiling.
Once the floor was installed, I could get my ladder in here and start to paint.
Painting…Finally!
I love to paint. Paint changes everything in a short amount of time and with minimal effort. It is a magical substance. It makes things look new and clean. Yeah…I’m gushing.
Of course there was wall preparation to do. I applied wood putty like a boss and sanded it gently. I used a wood rot treatment and applied more putty. When I was finally ready to apply paint, I did opt to first use a Kilz product that would seal in any mold or mildew as well as any strong odors.
The paint wasn’t peeling or chipping. In fact, it was remarkable preserved. It had been behind wall paper and then sheet rock since the 1850s. I wonder if the original paint on the wall had been a milk paint.
After a Google search, and knowing that the bedroom would be a guest room, seldom used, and seldom used by children, we opted for two coats of the oil based Kilz and three coats of paint. All of the window trim and baseboards were removed and so I didn’t have to worry about that.
Window Installation
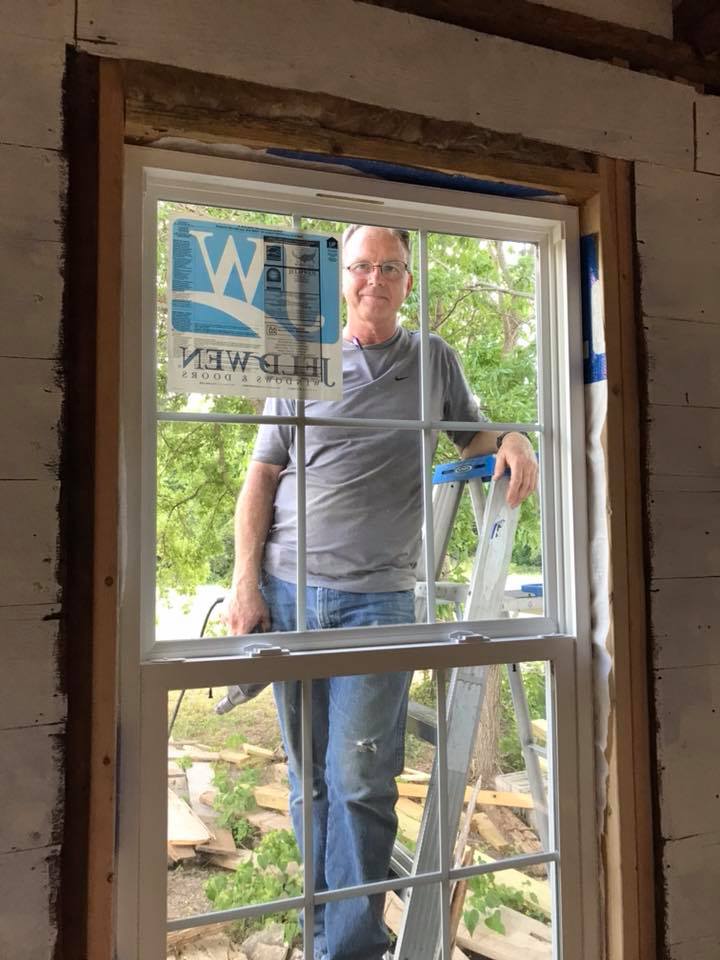
It still wasn’t raining, so we weren’t concerned about the window installation. When we got to that, we would do it. But, it was really exciting when it happened. I know it is a psychological thing, but at this point, we thought we had a tiger by the tail. Look how pleased Jerry looks in the picture above. We were making progress. The windows went in without one problem, unlike so many of our other projects! It was very gratifying.
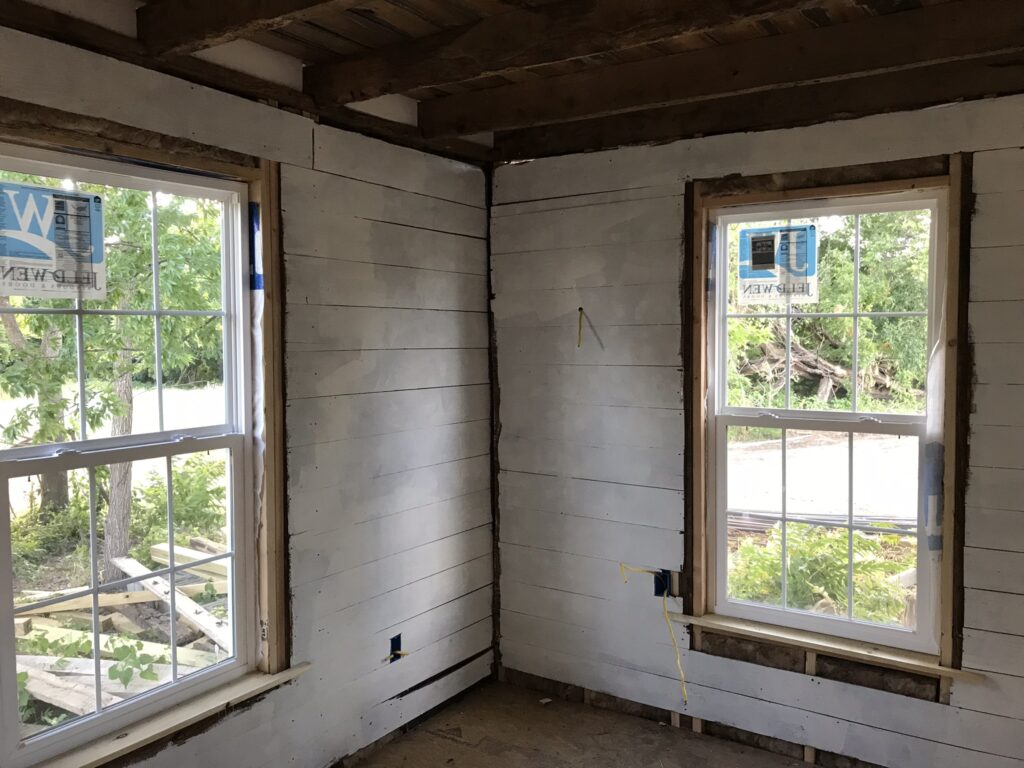
A Semi-Finished Product
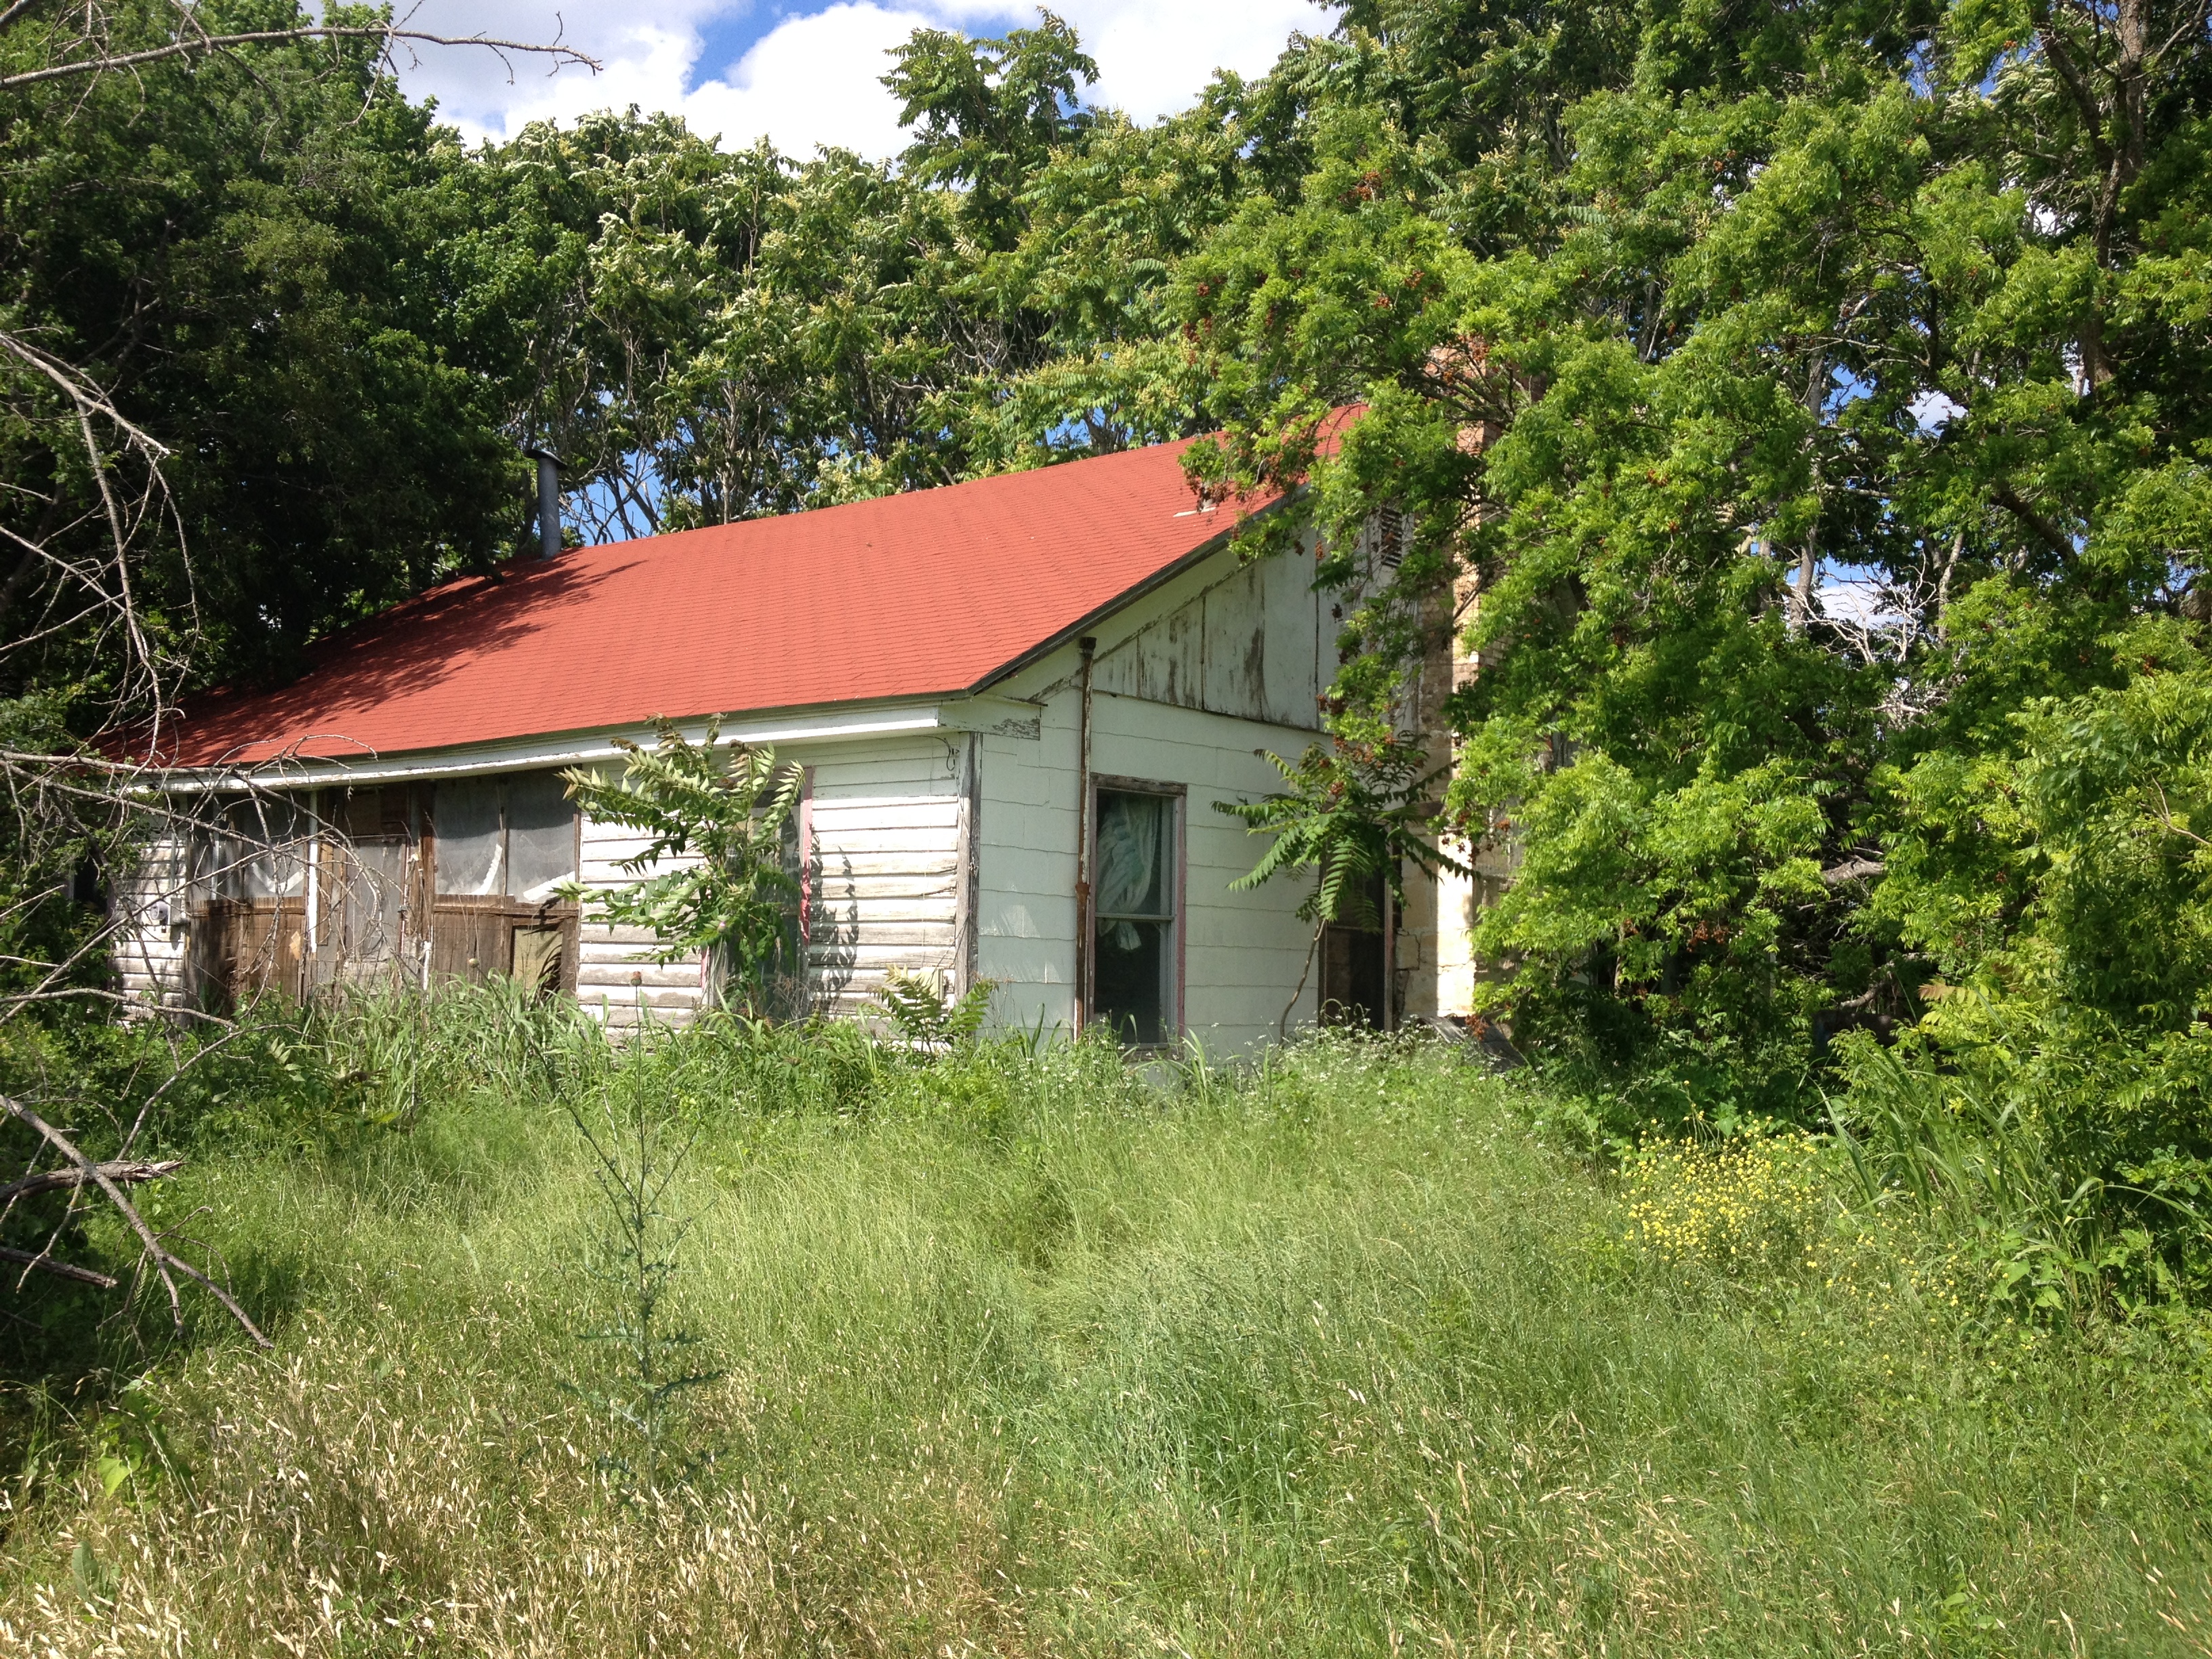
Once the windows were installed in the kitchen/bedroom, we were at a point where we needed to move to another room. We would take the steps we had developed thus far and apply them to the other rooms in the old house. This is what the room looked like in this semi-finished state. And just to remind you, I’ll include a before shot of the same wall.
You May Also Like