Single Board Walls Can’t Last Forever
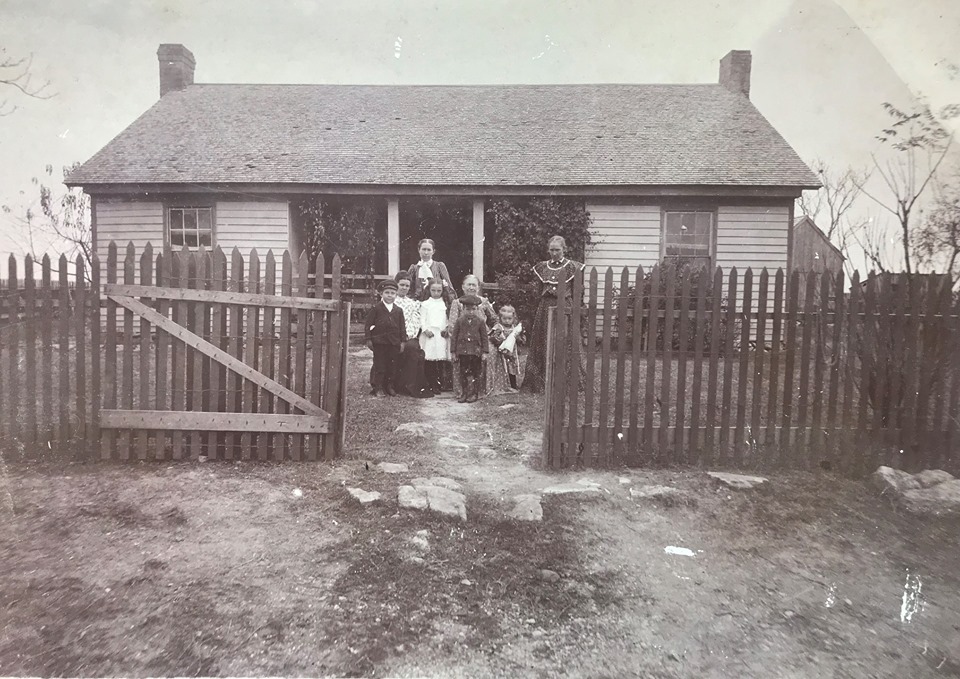
Wonkie Mystery House
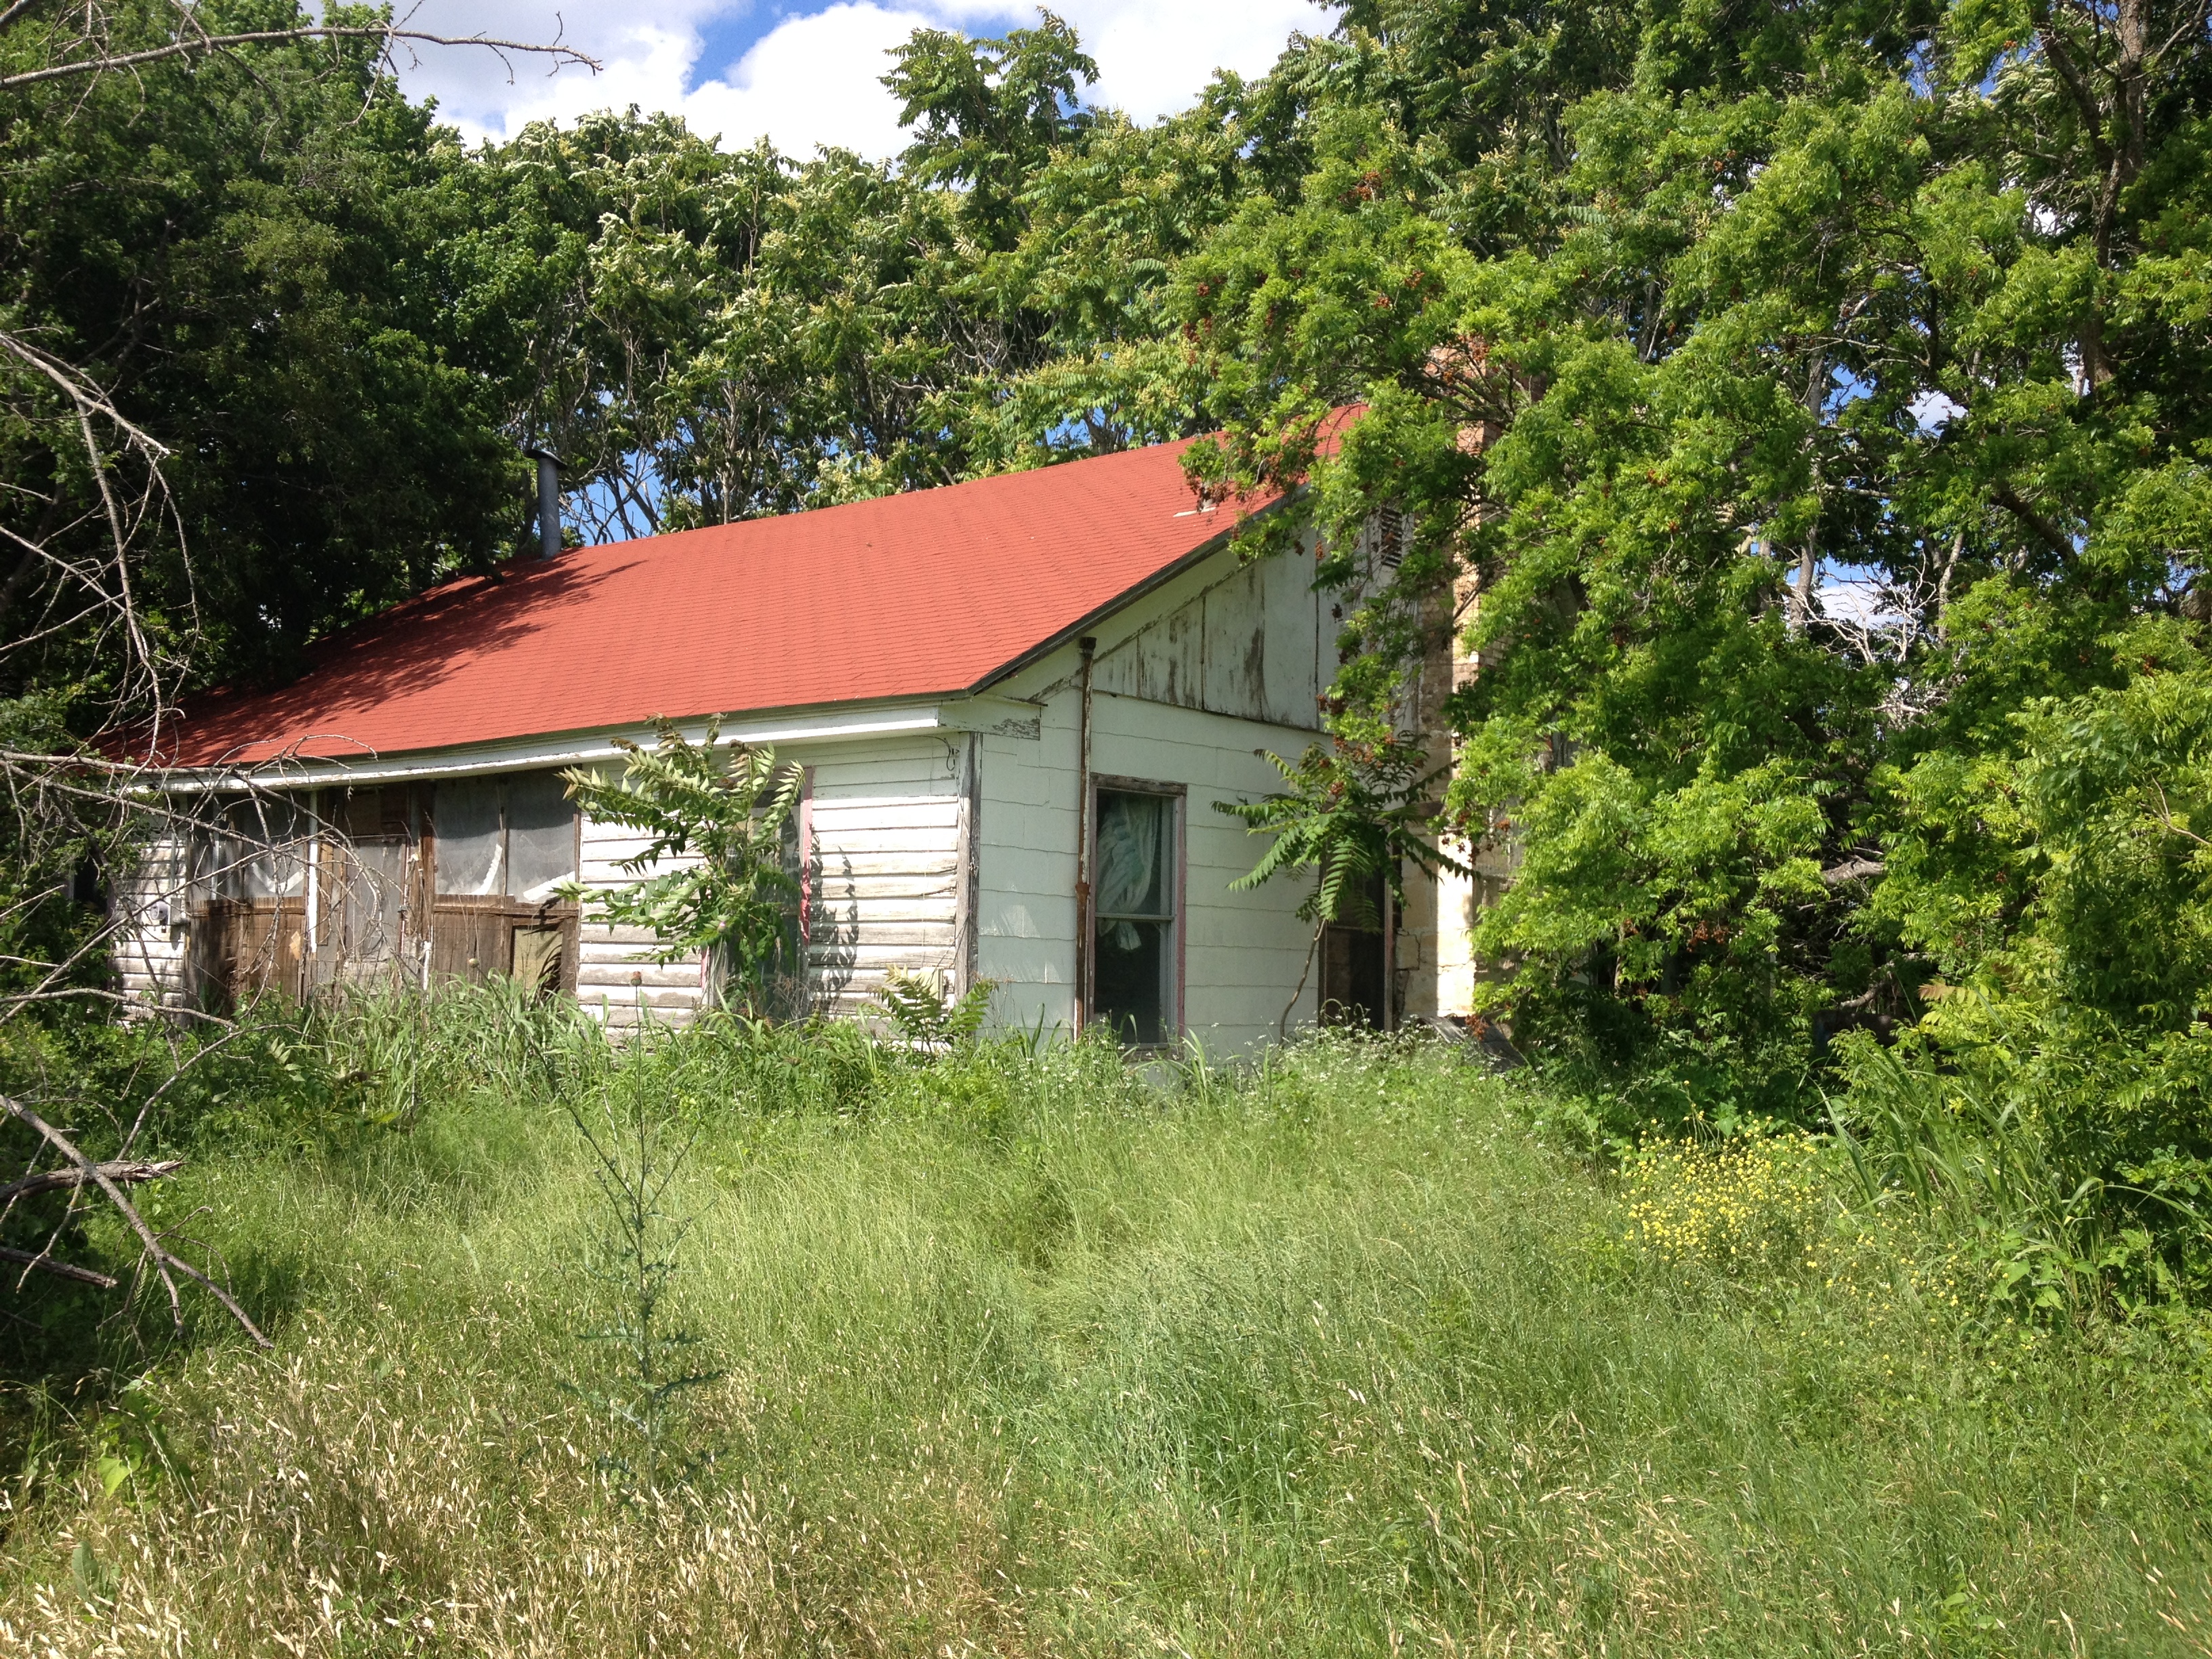
When we bought the house, there was so much trash inside of it. You couldn’t really tell much about the structure of the house. We didn’t know if it was leaning, sinking, collapsing and so on until we removed the trash and sheet rock and could actually see the house. What we found was a wavy floor, with high spots and low spots. We could see ceilings that drooped in the center and doors that would no longer close. My motto was “only do what we must…keep it original!”. Jerry and I first addressed the foundation issues so that we could level and raise the house.
The Revelation
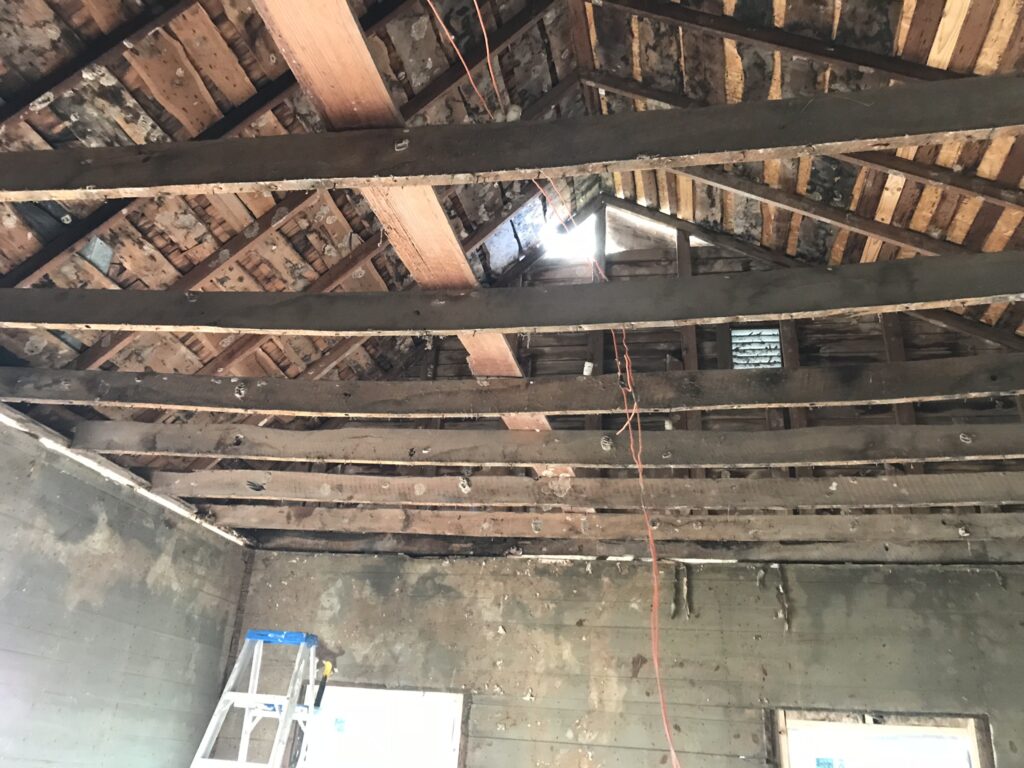
We removed the ceiling boards and this revealed the ceiling joists and the supports on which they rested. The ceiling joists had a 6″ swag in them and they rested on a 2″X4″ nailed to each side of a single board wall. In short, the single board walls were load bearing and they were bowing under the weight. To make things more interesting, one of the walls had suffered termite damage. I do not know how it was still supporting the weight of the roof and the ceilings.
Load Bearing Myth
I watched a lot of DIY television. Removing a load bearing wall was always an issue. It was expensive because you had to replace the wall with some sort of beam to transfer the weight. You couldn’t just knock it out. Load bearing walls are important and necessary. Ours were buckling and had been for years. But maybe we are wrong. I don’t know what I am doing on the renovation half the time. It is possible that the walls weren’t load bearing and are just bowing because of the Texas heat. We turned to the source of all good information…the Internet. This website gives helpful hints on how to determine if a wall is load bearing.
Here is what the experts said: Walls that run parallel to the floor joists are non-load bearing. Our walls are perpendicular. The floor joists rested on the same sill logs as the wall in question. And we could see that the ceiling joists were resting on both sides of this skinny little wall. Still, it has lasted for 173 years. Is it really a problem or 1846 construction magic?
Who am I kidding? We knew it was a problem and it frightened us. This was a colossal problem and one that we were afraid would end in the collapse of the house. We needed this fixed ASAP.
Replacing the Single Board Wall
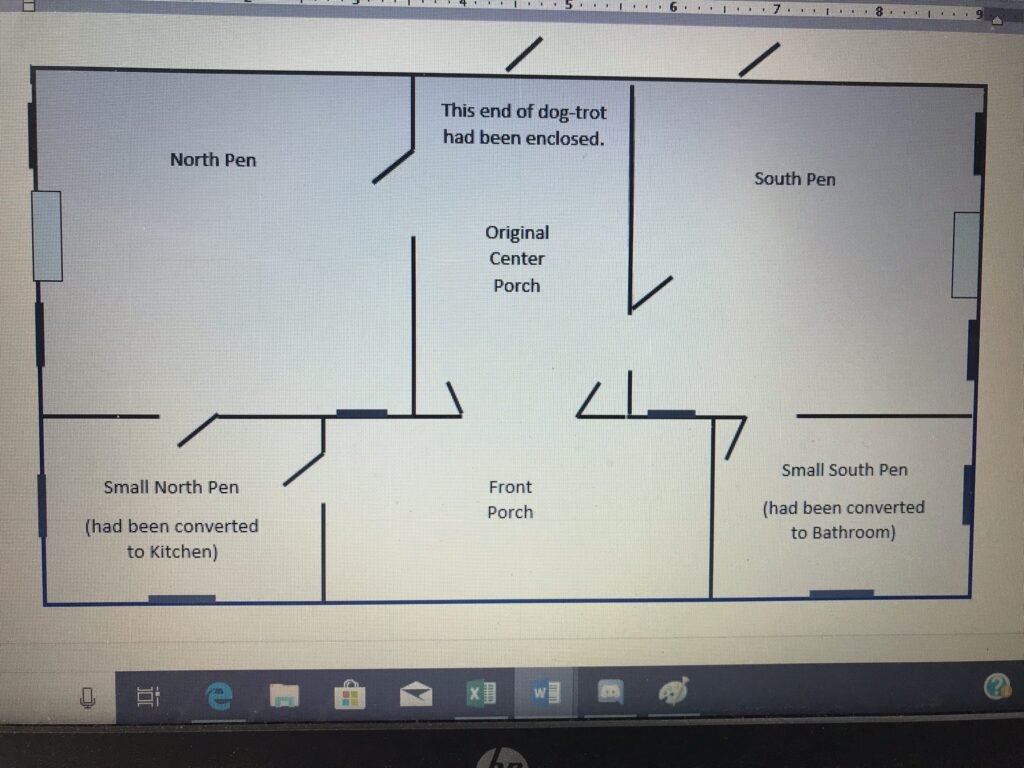 Before we started on the ceiling joist replacement, we had to address the single board wall issue. The weight of ceilings were resting on both sides of the 1-inch board wall between the large and small pens on both the north and south sides of the house. This weight had caused the 1-inch boards to bow and is probably the reason why the front of the house was pulling away from the center. You can read about that discovery here. The bottom line was that on either side of this 1-inch board wall, a 2×4 was nailed and the ceiling joists from both the large and small pens rested on it.
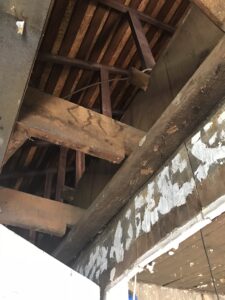
Take a Load Off
Before we could start replacing the ceiling joists, we had to decide how we were going to shore up that single board wall. In the end, it was obvious. We had to install a load bearing wall in both ends of the house in order to support the weight of the ceiling. The floor and ceiling boards were not square and so each stud had to be cut to fit. I was jealous of the framers who were cutting 10′ long boards and were on the money each time. We would measure and then try to find a place where the board fit best.

The new wall was very sturdy and we are confident that it will support the ceilings and the roof. With any luck, this structural fix will also end the bowing of the original board wall.
In this picture, you can see the gap between the square framed wall and the amount of bowing that has occurred over time in the 1-inch board wall. This was a huge structural change and y’all know that I was completely against making any structural changes. However, this particular change helped so much.
Now, the center of the house has sufficient support. The added support meant that we were certain that the attic could have a plywood floor installed and the weight wouldn’t be an issue.
In the photo to the below, you can also see that there is another board that rests on the ceiling joist tabs. On this board going up, are the supports for the roof. That is a tremendous amount of weight for that little 1-inch board wall to manage. We figured that it had done its duty for 173 years and that it deserved the break.
All in all, it was just a great solution for the house that will protect it for years to come.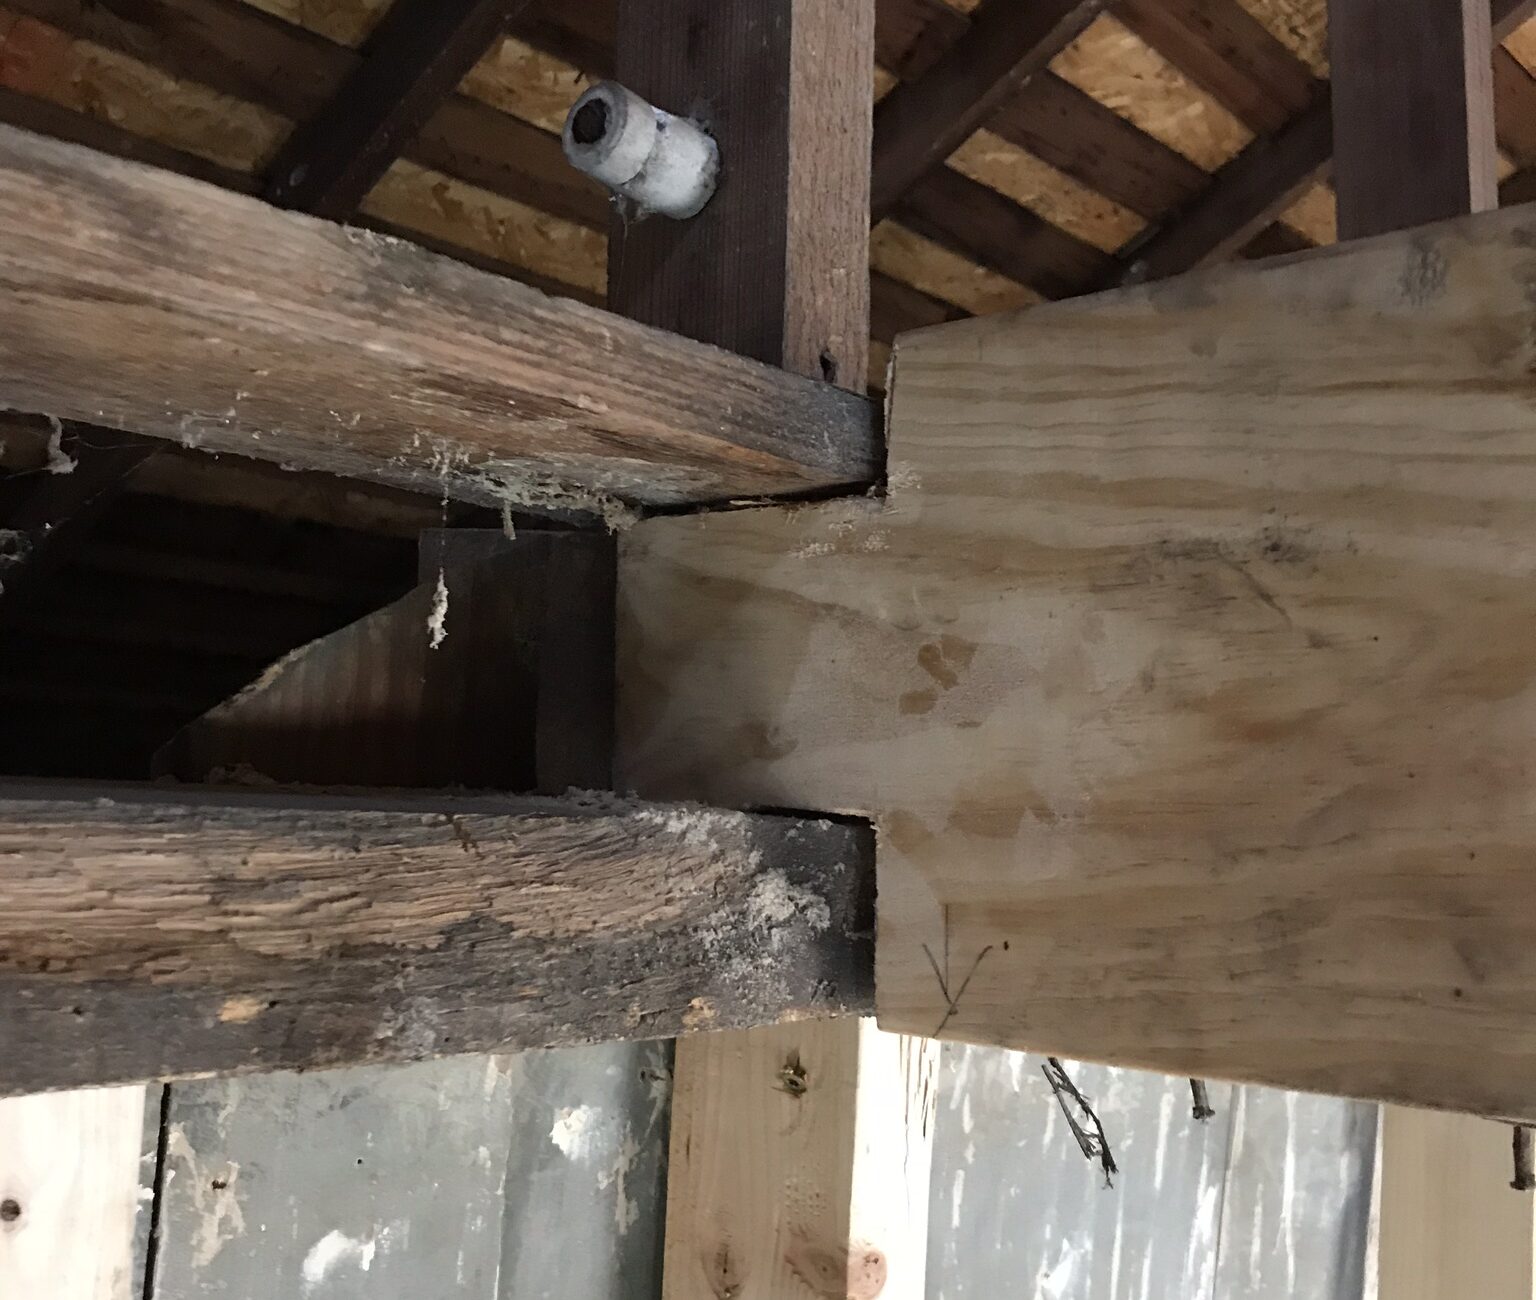
Replacing the Ceiling Joists
The ceiling joists had a six inch bow in them in both the large north and south pens. Our framer came in for a consult and told us that he could raise them without replacing the boards. We would have loved that, but as is often the case with our little house, when we asked for details the framer the project wasn’t simple. He would install a beam that ran perpendicular to the joists and pull them up. Of course, there was a 1-inch board on one end and the fireplace on the other where the beam would go. Okay, he said, plan B would be…and so on and so on. There wasn’t any good way to fix the problem The simplest solution was to replace the joists.
 It was the simplest solution because we would be doing the most straightforward repair that would alter the house the least. And I know that some of you are saying that I cause more trouble with my “keep it original” motto. We knew that a “less is more” approach was the best way to deal with the house. Every time we did anything, we caused more work for ourselves because we had to adjust every step from then on. The house was a tar-baby. Touch it once and you are stuck. Touch it again, you are even more stuck. It was ridiculous.
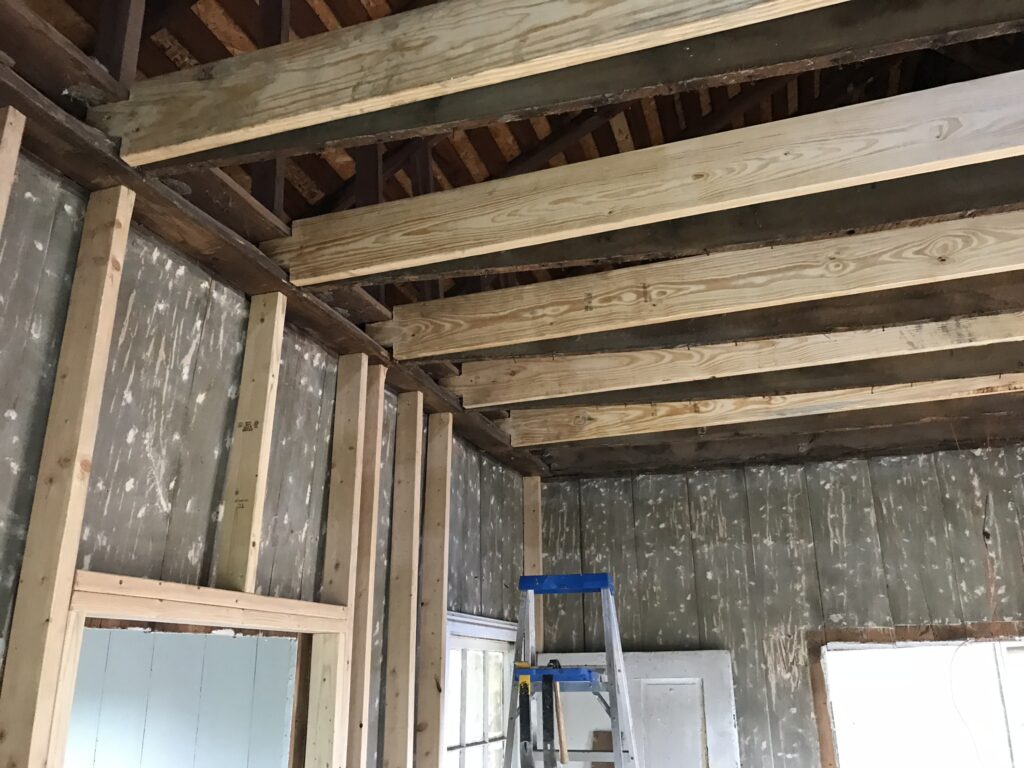
Jerry had the “tar baby” image seared on his brain when he started on the ceiling joists. He decided that he would cut the ends off of the original joists so that the tabs would stay in place just in case removing them cause a chain reaction. He also cut tabs so that the new boards didn’t have to be installed using hangers. It actually worked! Thankfully, we didn’t have to rethink this project midway through! Jerry did this in both the large pens on the north and south sides of the house.
You May Also Like
One Comment
Lisa Smith
I’m not even pretend that I have an ounce of knowledge about boards, and joists, and ledges or spacing, but my granddaddy was a carpenter by trade and he did it all. As a kid, I went with him to help paint, sometimes, and I loved helping him inside his shop in the back yard. I wish now I had paid more attention. Y’all are doing wonderfully.