Installing Sub-flooring, Insulation and Hardwood Flooring in South Pen
The South Pen
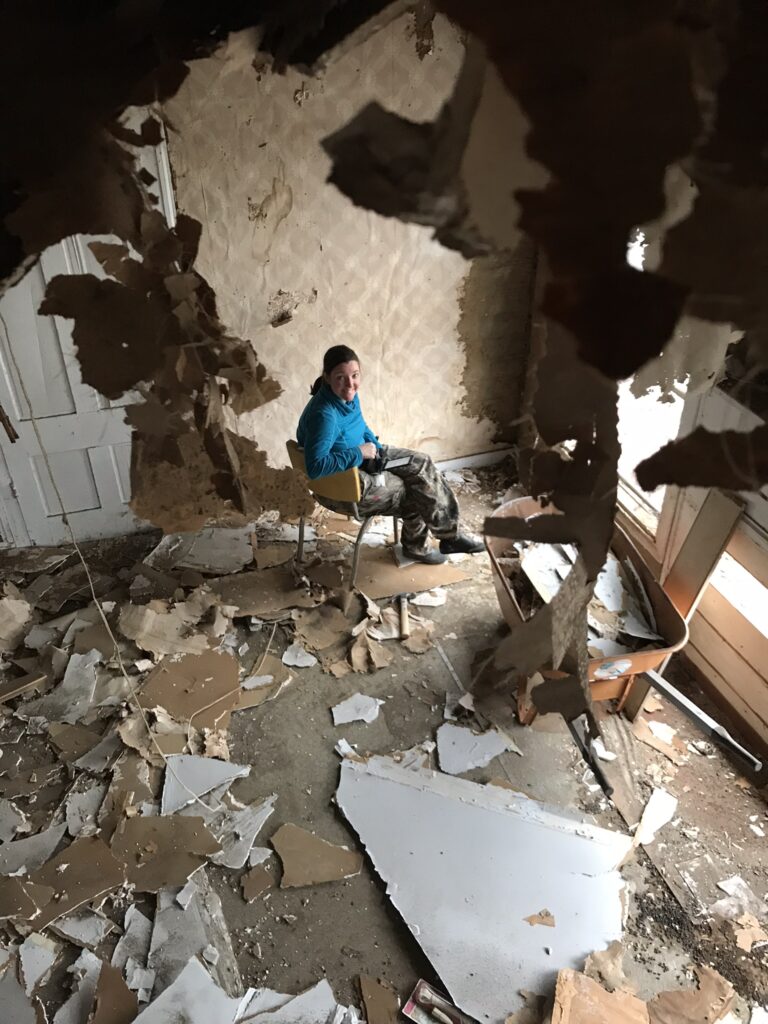
The south pen was always my “safe spot” to start. It wasn’t as dark as the north side of the house and it seemed to be in better shape than the north pen as well. It isn’t surprising, then that this room is the one that is most finished. I don’t know that our 1846 Texas Homestead will ever be completely finish, but at this point, we are living here and that is all that matters…for now anyway. Renovations are exhausting. But at one point, we were focused on things like sub-flooring, insulation, and selecting a hardwood flooring.
But before we got there, we had a lot of trash to remove when we started and then it was on to sheet rock and wall paper removal. And then it was the wall paper tacks that seemed to cover every square inch of the room. Yikes. Jerry advocated for painting over them. I insisted that we remove each one of them, spackle the holes, sand it all down, and paint. We spent more than a week in the south pen doing wall paper tack removal. It was brutal, but the walls look great.
The Floor in the South Pen
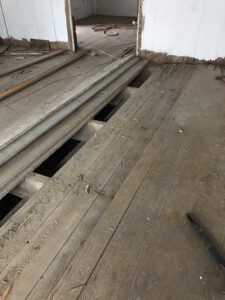 We discovered that there were actually two floors in the South pen. The original plank wood floor was there, but it was covered with a newer tongue and groove, narrow board oak flooring. The T&G wasn’t original to the house. (T&G was invented in 1885 and the house was built in 1846). It didn’t bother me to take it up beyond it being really, really old wood. It had termite damage in several areas. The original flooring underneath also had damage. It became apparent fairly quickly that we would not have enough original flooring and that we would need to purchase something to install.
I wanted all the floors to match (like they had originally). We could have pieced together enough to do one room in original flooring, but we couldn’t match it and the thought of a patchwork floor wasn’t appealing. Decision made…we would be purchasing new flooring to install. It’s only time and money, right? Sigh.
 Installing the Sub-flooring, Insulation and Hardwood Flooring
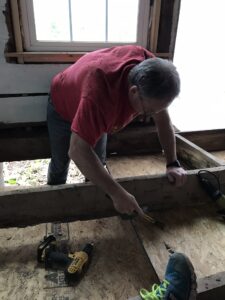
Up came all the floors. Fortunately, the joists were in great shape. However, we needed to figure out insulation and that meant installing a sub-floor under the joists before installing a hardwood flooring. Under the joists, we installed plywood and then we were able to install rolls of insulation between the floor joists. Advantech floor decking was laid before we could install the actual flooring.
All of this work was stuff that nobody would see. The hidden extra work was so important though. The sub-flooring under the joists made the insulation possible. The extra OSB under the floor added stability to the structure as well as a barrier for rodents and wind. The insulation was maybe overkill, but we kept thinking that the old house was probably going to need as much help as it could get when it came to being cool in the summer and warm in the winter. The gamble paid off. We have had no problems with climate control in the old house. Yay!!
What We Were Dealing With
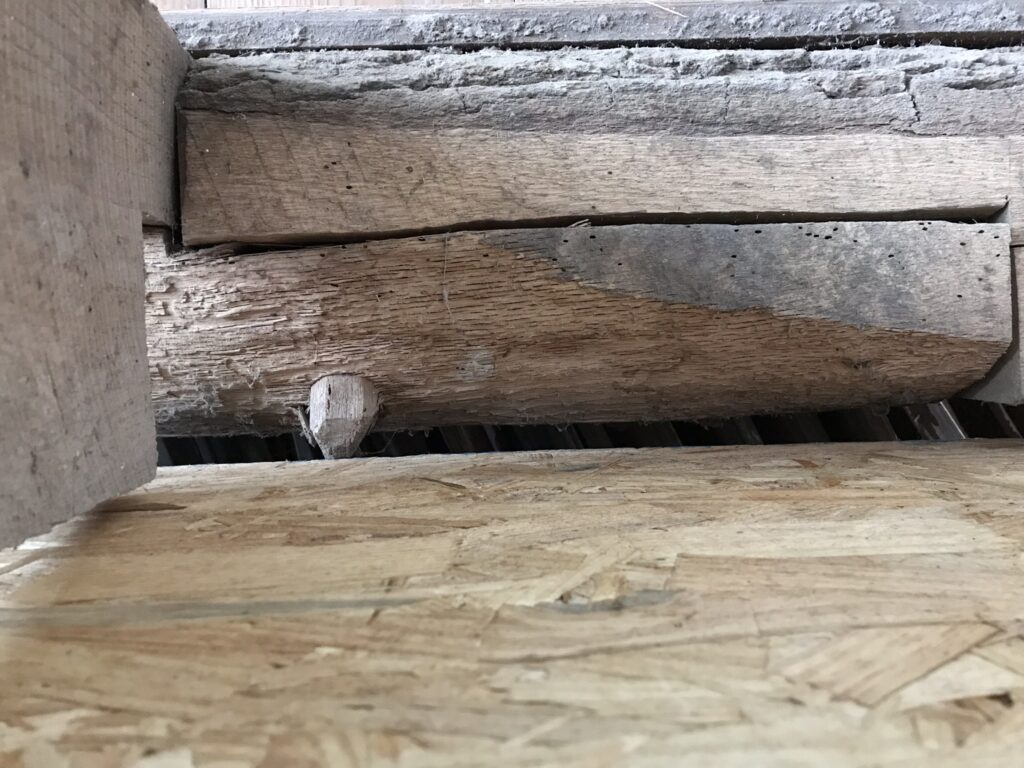
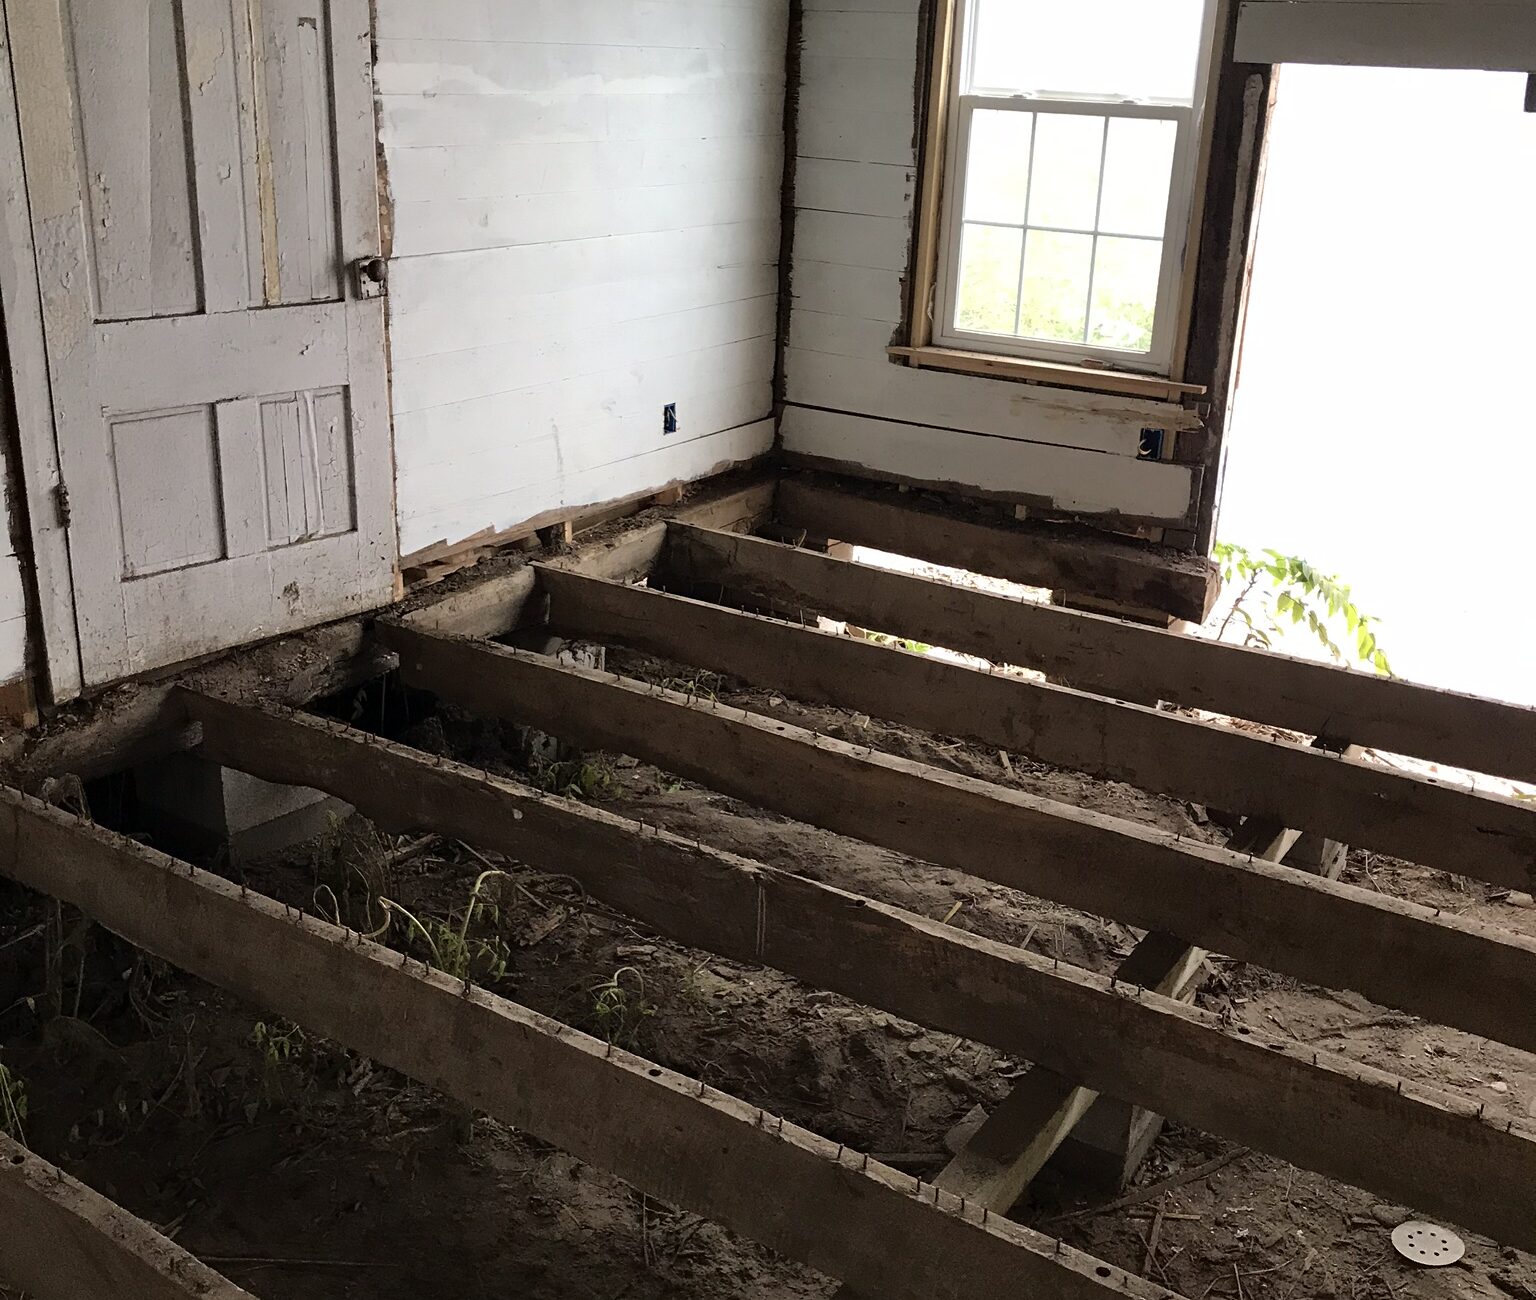
The photo above gives some insight into what we were dealing with. We were trying to salvage and save as much of the original house. However, we were also trying to ensure that we could live comfortably in it. We also needed to take all the wonkiness of it and minimize it so that we could have a fighting chance when it came to laying the sub-floor, the hardwood flooring, and re-installing the doors. Ha!
Above, you can see that the decking that was installed underneath had to accommodate a wooden peg used to join the sill logs. (Spray foam sealed any gaps) Also, you can see that the sub-floor would have to be installed on top of the sill log which was, well…a log and not an even one. We had to shim and work with it, but we were able to make things reasonably level and could start laying the flooring.