Delicate Ceiling Boards Require Special Attention
The Ceiling
I wanted to reuse the original ceiling boards in the house. The ceiling boards were fragile and the rooms needed lighting. We addressed the boards first. They were fragile and needed more care than I anticipated. We also had to make decisions about lighting in the old house that would make it functional without changing it too much. We were tightrope walking again.
The ceiling boards had been covered with sheet rock and wallpaper. We had the pleasure of knowing that they needed to be cleaned, de-nailed, and repainted. Did we want to do this on a ladder? No, we did not. Still, standing on a ladder working overhead might have been a better deal than taking the boards down. Turns out, we didn’t have a choice.
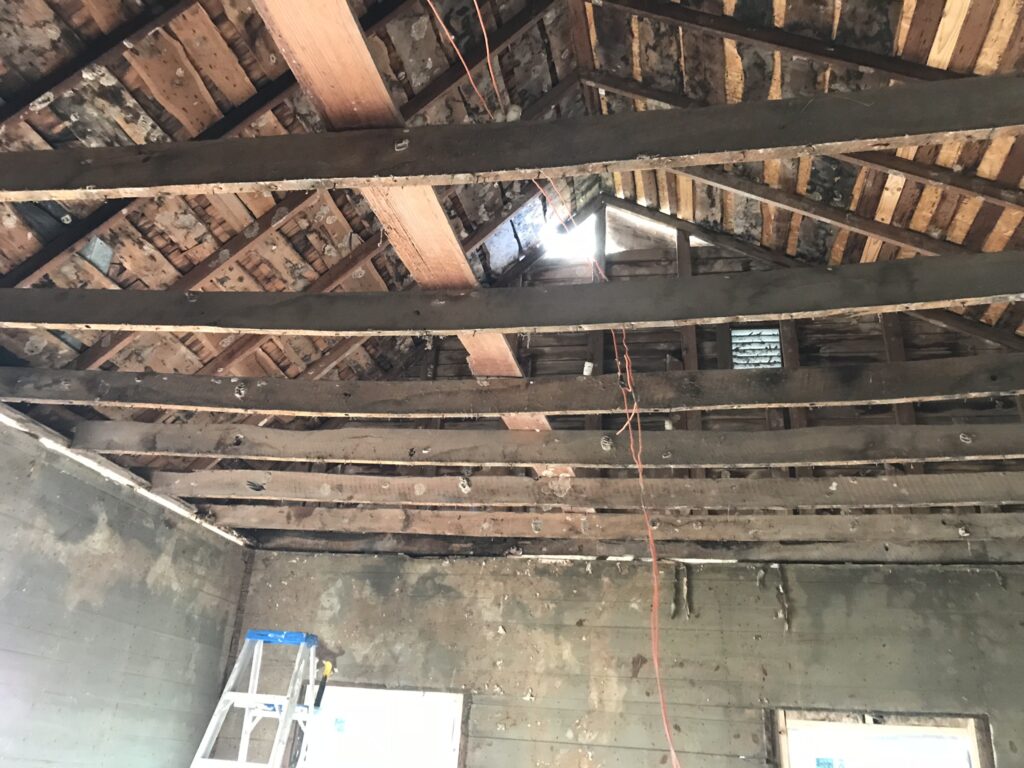
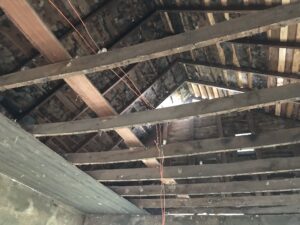
The ceiling joists had begun to sag. We are blaming the 6″ sag on the structural problems concerning the amount of weight that the plank wall supported. The ceiling joists were sandwich between the supports. If the front of the house was indeed (and indeed it was) trying fall into the front yard, it is no wonder that the joists were a bit bendy.
 In order to get to the joists, we had to first remove the ceiling boards. My Scottish thriftiness insisted that we reinstall these boards. And so, we began the tedious process of removing them. We thought that our small, flat crowbar tool would be the ticket. Imagine our surprise when we found that the ceiling boards were tucked under the ceiling supports at both ends. The
We spent hours with Jerry on a ladder on one side of the room and me on a ladder on the other. He would get my end un-tucked and then work his way to his side. Once there, he would instruct me to swing my end back and forth in an attempt to walk the boards free.
The ceiling boards were fragile. Some of them were broken under the sheet rock. All were nasty and had the habit of depositing rat poo in my hair. Still, back and forth we went until they had been liberated and were ready to be managed further.
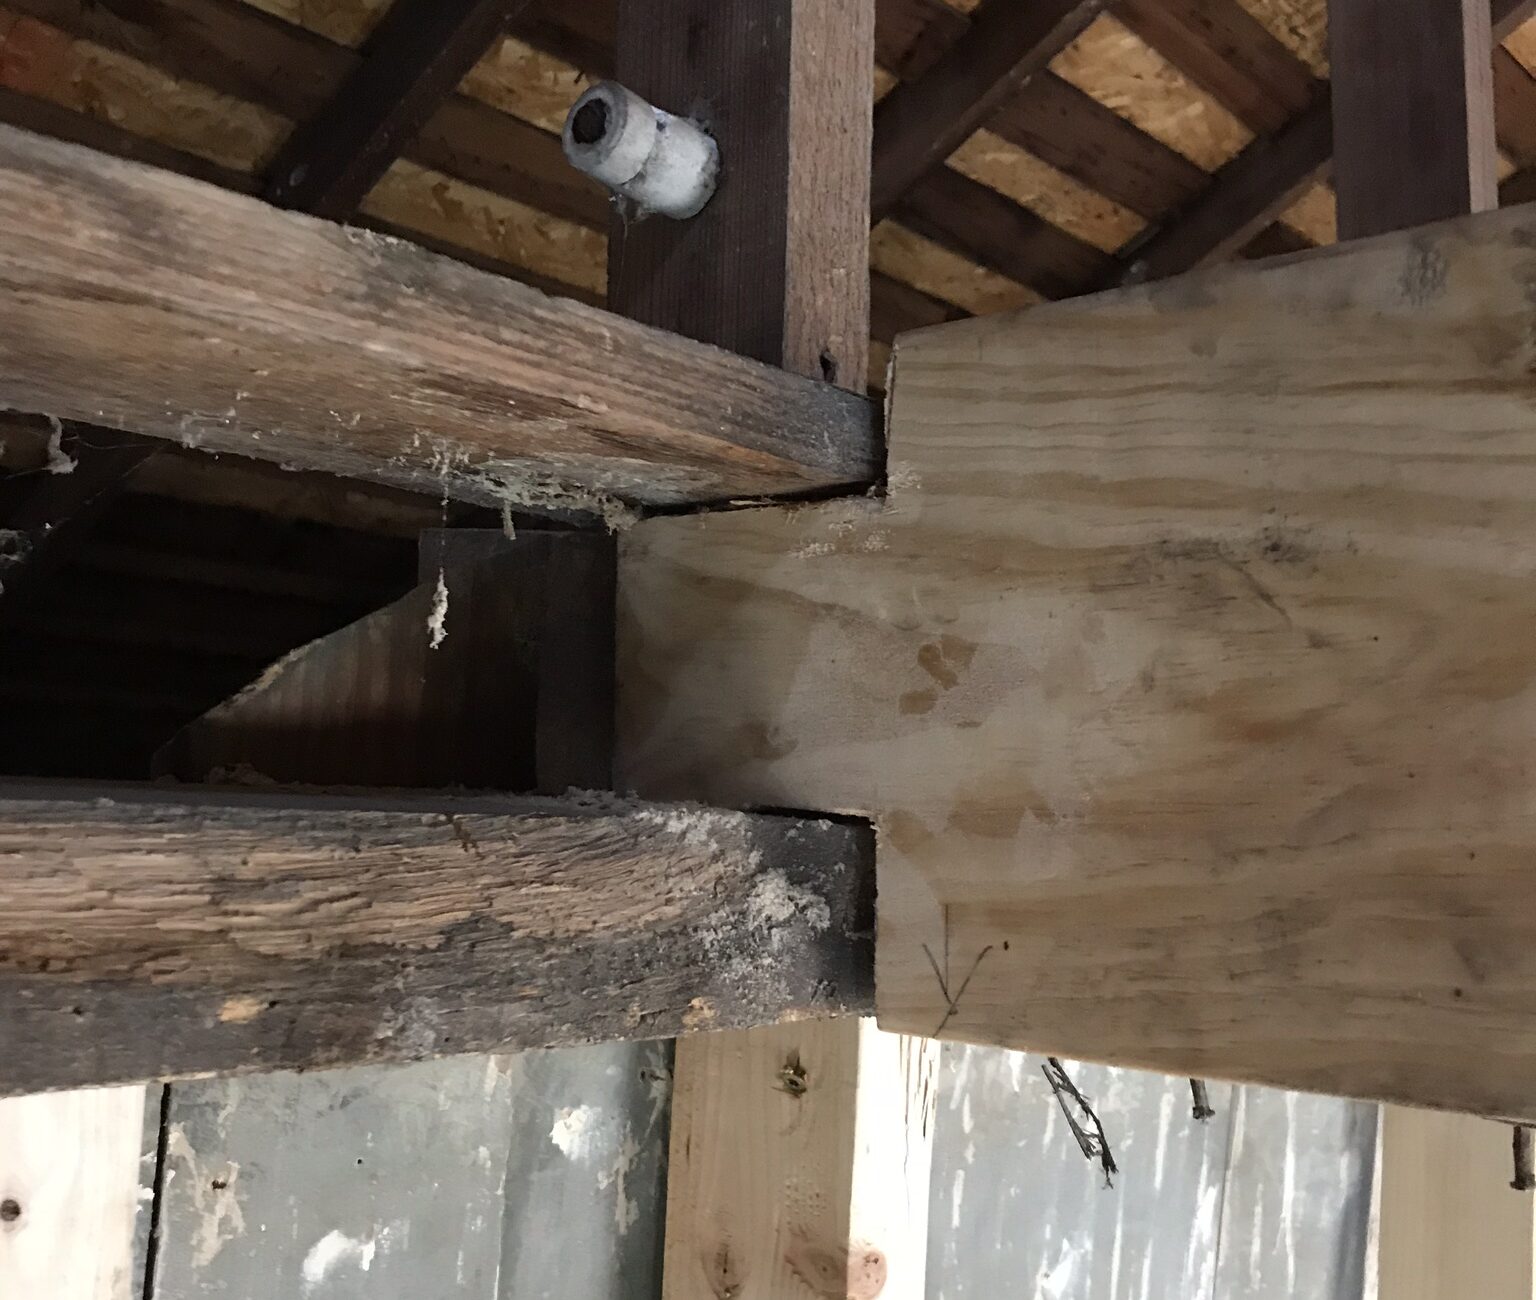 Ceiling joists were removed and replaced one at a time in an attempt to maintain structural integrity. Jerry, bless his heart, notched the new ceiling joists so that they would slip into their original locations. It was more work, but we were learning that when we changed something, we disturbed about a hundred other things. Better to put in the time and cut the notches than to use joist hangers and then have to jump through hoops the rest of the renovation.
Lighting Decisions
With the ceiling down, Jerry had a great opportunity to run the electrical. We discussed what kind of lighting we wanted in the old house. The small pens received two small wall scones and no overhead lighting. When the house was wired for electricity, a single bulb dangled from the center of the room. Not exactly what I was hoping for.
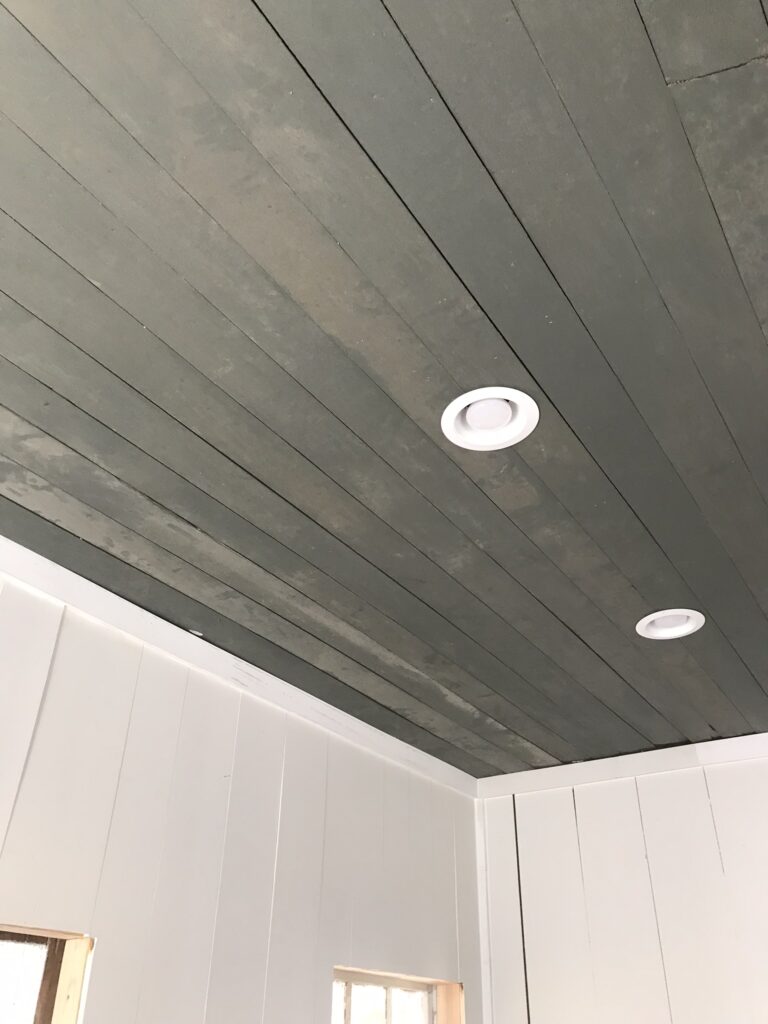
The house had not been built with installed lighting and I didn’t think that adding a central light fixture was a good idea. The house hadn’t had one, and so to add one would be to significantly alter the room. I also wanted the room filled with soft, candlelight glow. We opted for recessed can lights.
And this decision added stress to an already stressful situation. Had we gone with one fixture in the center, we would have cut one hole in the original ceiling boards and been done. Because of our decision, we now had to cut seven holes. Of course, not only seven holes but seven holes that might span across as many as three boards. And let us remember that the ceiling boards were fragile and adding lighting to the room complicated things quite a bit.
We purchased the drywall tool for our drill thinking that it would be the best way to cut out a circle. There was no room for error. We were using the original boards and they could not be replaced. If we had to replace a board, there was no chance of matching the cupping AND the warp of the board. Of course, the blade did fine on the first hole and then was too dull to cut through the wood. We opted for using it to score the circle’s outline and finished with a handheld oscillating saw. We have a Rockwall (see picture left) and I love it and use it for almost everything (sanding, cutting…).

I do like that these lights “disappear” in the ceiling. I may go back and paint the housings to match the ceilings. However, two do overs are in our future. The first is to install dimmer switches. The second is to replace the light bulbs we purchased with the softer natural light ones instead of the bright white. There is just too much light in the room right now and we need to soften it up a bit.
Ceiling Boards
While Jerry installed the lighting, I worked on the boards. In the south pen, the ceiling had been painted a dark olive green color. We went to Lowe’s and selected several color swatches and thought we would match the original. They original was more yellow than I thought. We chose a gray green color that complimented the blue we had selected for the north pen.
The boards were taken outside into the sunshine and scrubbed down with vinegar and water in an attempt to remove any odors (think rats…). The ceiling boards fragile and thin and we were worried that making them thinner would impact the lighting we were adding. We decided to just do a light sanding and repaint them. We had planned the boards in the small pens and those boards still had paint on the edges due to the cupping of the boards. By the time they were painted, they smelled fine and were ready to reinstall. Here is a peak at the finished product…well, for now anyway.
You May Also Like